Victoria Sponge Cupcakes

If you haven’t had much success with baking cupcakes before now, this recipe is perfect for creating a deliciously light moist crumb.
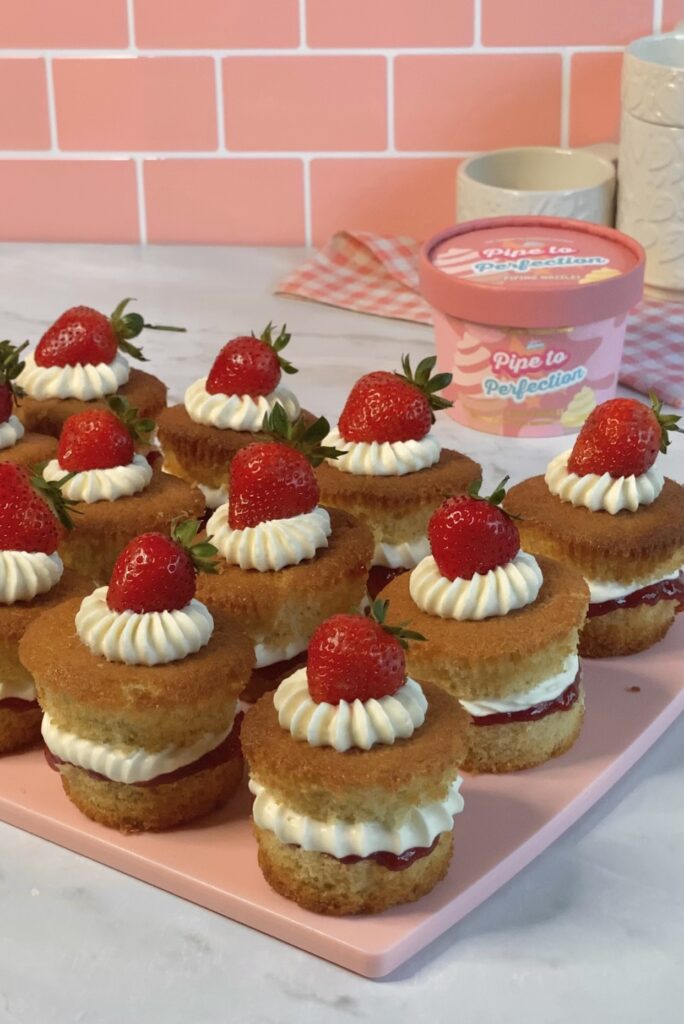
There’s just something about mini Victoria sponge cakes that makes them look elegant and adorable, regardless of how they are decorated.
*This post may contain affiliate links. Please read my disclosure for more details!*
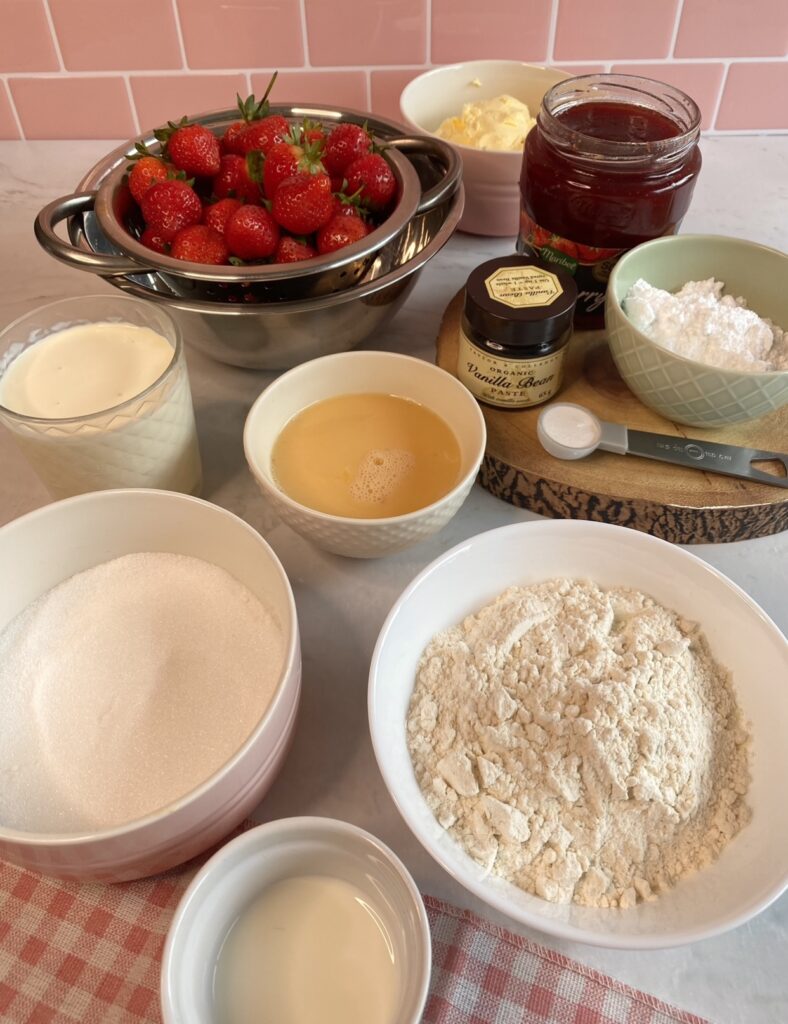
Here’s a list of Ingredients you will need to make Victoria sponge Cupcakes:
Butter/ Baking spread- I use baking spread because it comes to room temperature much faster than butter. It’s super important to use room-temperature ingredients because they will blend a whole lot better. For example, if the butter is too cold, it won’t cream properly with the sugar, which can impact the fluffiness and rise of your cupcakes.
Sugar- I use caster sugar because the grain size is much finer in comparison to granulated sugar. Caster sugar also dissolves and incorporates more quickly when creamed together with the butter.
Eggs- For most of my recipes I use UK large eggs, which means they weigh between 63-75 grams each. Again it is super important that your eggs are at room temperature otherwise they won’t blend well with the rest of the batter, causing an uneven rise when baked.
Vanilla- You can use either extract or paste in this recipe. For the cake, I used vanilla bean paste because it has beautiful specks of vanilla bean. But for the the vanilla milk and whipped cream I used vanilla extract.
Raising Agent- To help the cakes rise further I use a teaspoon of baking powder. Baking powder already contains acid which means it will activate when mixed with liquids.
Flour- I use self-raising because it will ensure the cupcake rises well.
Milk- I add a small amount to loosen the batter and make the cupcakes extra soft and fluffy.
Double Cream & Icing Sugar- For the whipped cream. You could also use buttercream instead if you prefer.
Jam- I used strawberry jam. But you can always use any flavour you like.
Making The Victoria Sponge Cupcakes
1. Using an electric hand mixer with the whisk attachment, beat the butter and sugar until light and fluffy.
This usually takes around 2-3 minutes. If you use a stand mixer I’d recommend using the paddle attachment rather than the balloon whisk. Although we want to incorporate air into the batter, we don’t want to over-incorporate as this will cause the cakes to sink in the middle when they come out of the oven.
Make sure the butter or baking spread is at room temperature because at this temperature it’s spreadable. I like to take my butter/baking spread out of the fridge a couple of hours before baking, to ensure it has a perfect spreadable consistency.
Depending on the weather your butter might be slightly melted or too hard. If the butter has melted you won’t be able to make the butter light and fluffy. To fix melted butter, place it in the fridge for a few minutes until it has reached a spreadable consistency. If your butter is still too hard, use the microwave to help melt the butter ever so slightly in short bursts, mixing in between each interval to prevent the butter from completely melting.
2. Whisk in the eggs and vanilla. Continue to whisk until all of the ingredients are well combined.
3. Add the flour, baking powder and milk to the batter. Then whisk on a low speed until just combined.
I’ll be honest I’m usually quite lazy and don’t bother sifting my flour, but I’ve recently started sifting my flour and noticed it’s helped make the batter lighter and airy. It also makes it so much easier and quicker to mix.
Avoid over-mixing once you have added the flour. Over-mixing will cause your cakes to become a little tough and appear deflated once baked in the oven.
4. Line a cupcake tray with cupcake/muffin cases. Then divide the mixture equally between each case.
For a perfect dome, I like to fill my cupcakes 2/3 of the way. To fill each case I use 2 tablespoons (the one used for eating) and scoop about 1 and 1/2 heaped spoons into each case.
5. Bake in a preheated oven at 160C Fan. For around 20-22 minutes.
Avoid opening the oven door when they are rising. Opening the oven door too early can cause the cakes to deflate in the centre.
You can use the skewer test to check for doneness, or if you gently press the top of the cupcake it should spring back. If it springs back they are done.
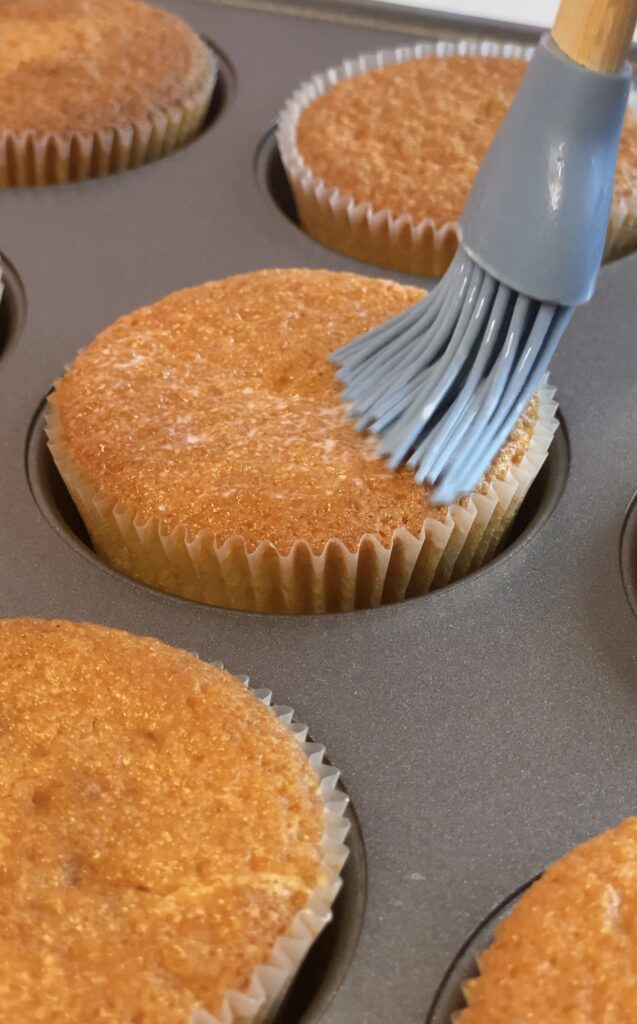
How To Prevent Cupcakes from Drying Out?
A lot of cake decorators use simple syrup to hydrate their cakes. Simple syrup is basically a 1:1 ratio of sugar and water. However, I personally don’t like the extra sweetness it adds. But then I was thinking about tres leches cakes and how they’re soaked in milk, which keeps it hydrated for longer. So I used the same concept but with a lot less milk because we only want to hydrate the top of each cupcake. Adding a small amount of vanilla to regular whole milk adds the perfect amount of sweetness while keeping the cupcakes softer for longer. I hope that wasn’t too confusing, it's one of those baking hacks that just makes your cupcakes that slightest bit better.
Decorating
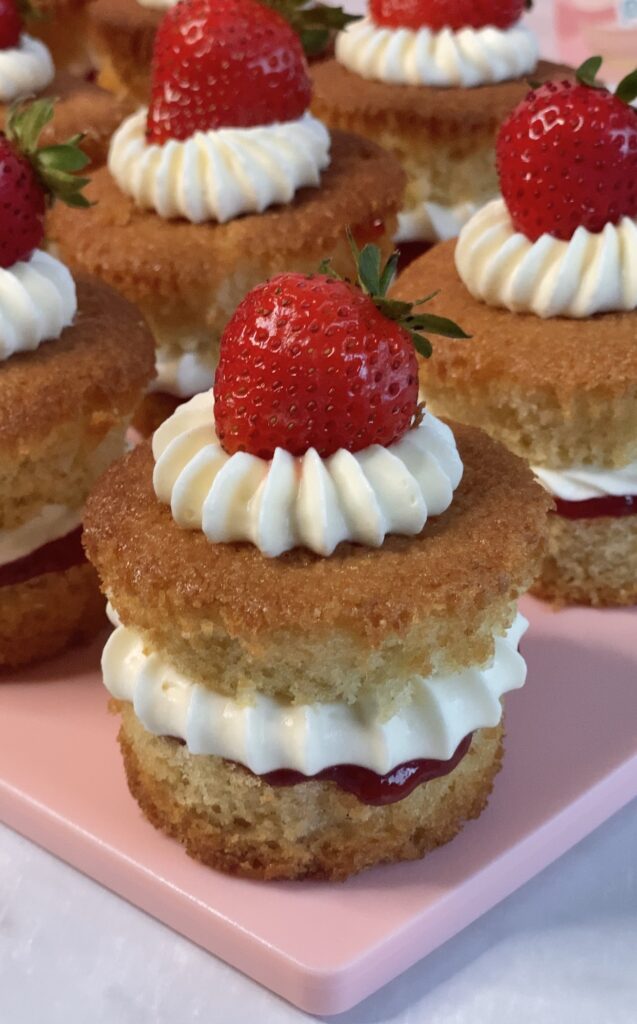
A classic Victoria sponge cake consists of a layer of strawberry jam and a fresh layer of whipped cream.
Making whipped cream is actually easier than it seems. Just make sure you use cold full-fat double cream. If your icing sugar has any large lumps use a sieve to remove them.
To make your Victoria sponge cakes look even more extravagant, try using a piping nozzle to pipe the whipped cream.
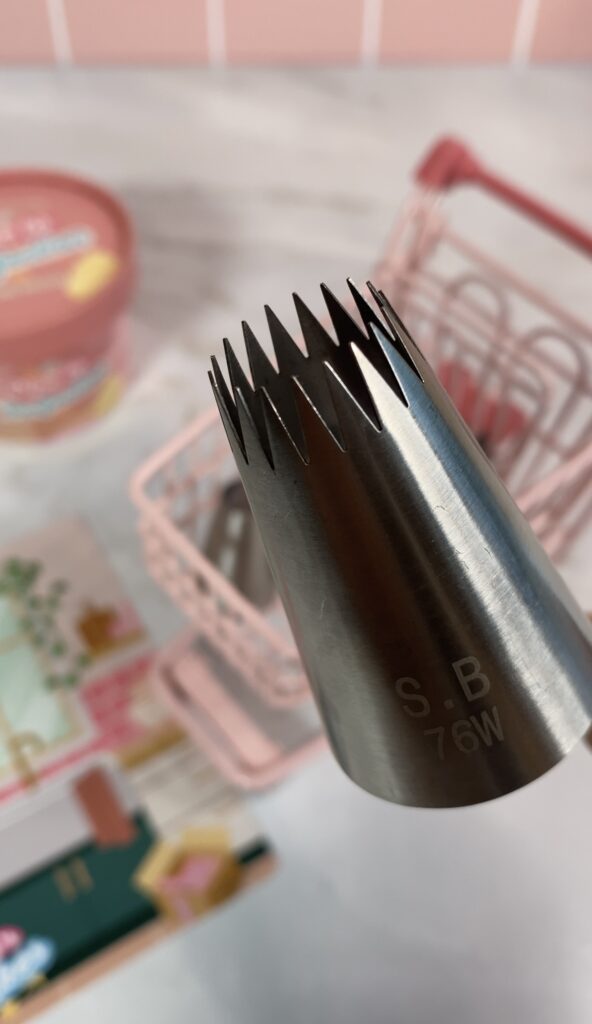
In the video, I used the 76W nozzle, from the Pipe To Perfection Piping nozzle set. It’s one of the easiest piping nozzles to use and gives your cupcakes an instantly appetising look. Simply hold your piping bag at a 90-degree angle, making sure the piping nozzle is roughly a centimetre away from the cake. Gently apply even pressure to the piping bag until you are happy with the fullness of the ‘blob’. Once you are happy with the fullness release the pressure from the piping bag and gently lift your piping bag away. Letting go of the pressure before lifting the piping bag away will give you a perfect peak.
Decorating Tip: Set a cupcake aside to practice your piping skills. If you make a mistake, you can simply clear the top of the cake with an offset spatula or even a silicone spatula and start again. The more you practise piping, the easier it gets.
It was actually really warm on the day I recorded the recipe for these Victoria sponge cakes. Even though I left the double cream in the fridge they kind of melted after I decorated them. I should have put the cream back in the fridge until I was ready to use it but I got a little too excited. So if it’s super hot the day you decide to make whipped cream, just make sure your cream is still cold when you pipe it on your cupcakes, otherwise, leave it in the fridge until it's cold enough to prevent a mini cake land slide from occurring. I did manage to save mine in time, by putting them in the fridge immediately.
Equipment:
If you bake a lot you may already have a majority of the equipment or similar equipment available to you at home. Here is a list of a few important baking supplies you might need…
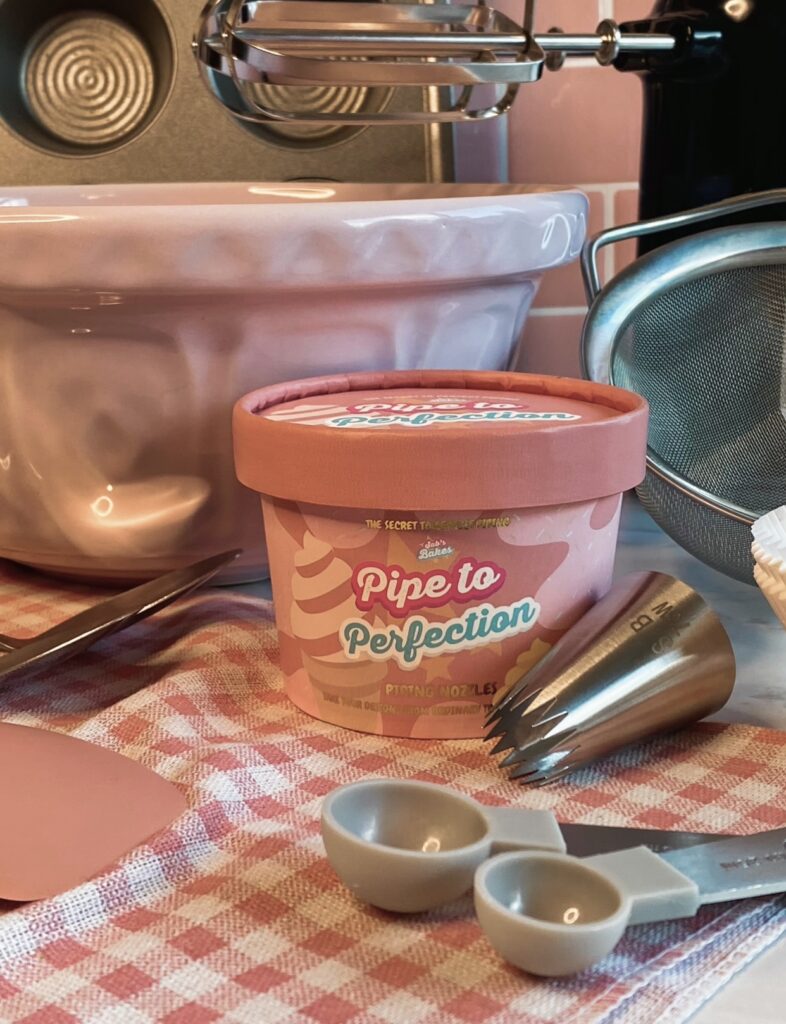
Delightful Mini Victoria Sponge Cakes. Sandwiched together with delicious strawberry jam and yummy whipped cream.
- 175 g Unsalted Butter/ Baking Spread
- 175 g Caster Sugar
- 3 Eggs
- 1 tsp Vanilla Extract/ Paste
- 175 g Self Raising Flour
- 1 tsp Baking Powder
- 3 tbsp Milk
- 40 ml Milk
- 1/2 tsp Vanilla Extract
- 180 g Strawberry Jam
- 270 ml Double Cream
- 50 g Icing Sugar
- 1tsp tsp Vanilla Extract
- 12 Small Strawberries
- 10 g Icing Sugar
Preheat oven to 160C Fan. Then place cupcake cases into your cupcake tray. This recipe makes around 12-13 cupcakes depending on the size of your cases.
In a large bowl, beat the butter/baking spread and sugar together until light and fluffy. This usually takes around 2 minutes.
Whisk in the eggs and vanilla until well combined.
Sift the flour and baking powder over the bowl using a sieve. Pour in the milk and mix on a low speed until just combined.
Fill each cupcake case 2/3 of the way, making sure all of the cupcakes have an equal amount of batter between them.
Bake them in the preheated oven until well-risen and golden. This should take roughly 20-22 minutes. Once baked, remove from the tray and leave to cool completely before decorating.
In a medium-sized bowl, whisk the cold double cream, icing sugar and vanilla to soft peaks using an electric hand mixer.
Use a spatula to scrape down the sides of the bowl to ensure all of the ingredients are equally combined.
Once the cream starts to hold its shape it is ready to place in a piping bag. Place a piping nozzle of your choice into a piping bag. I used the 76W piping nozzle from the Pipe to Perfection piping nozzle set, but if you don’t have one feel free to use any piping tip you like.
If using a disposable piping bag, cut off the end to accommodate the size of your piping nozzle. You want to make sure the piping tip fits snugly in the bag, if it’s too loose it may slip out of the bag. Make sure the bag isn’t blocking the design on the nozzle too.
If it’s a hot sunny day, I recommend leaving the whipped cream in the fridge until you are ready to use it.
Once the cupcakes have cooled, peel off the cake cases and slice them horizontally through the centre. You should end up with two halves. Spread a thin layer of jam on top of the bottom layer of each cupcake.
Then pipe a small amount of cream on each cake.
Sandwich the other half of the cupcake on top. Then decorate further by adding a small blob of whipped cream and a fresh strawberry to the top of each cupcake.
This step is optional, add a small dusting of icing sugar, but remember to not get too carried away.
Once decorated, enjoy. Any remaining cupcakes can be stored in an airtight container for up to 3 days.
Without the decorations and cream, you can use this recipe to make perfectly delicious vanilla cupcakes and then decorate them however you like. Whether that’s with coloured buttercream or chocolate ganache it’s entirely up to you.
Thank you for stopping by