
I’ve been seeing a lot of red velvet-flavoured bakes. So I thought it was about time I made something red velvet flavour too. Originally I was going to bake a two-layer cake, but then I thought how cute would red velvet cupcakes be.
*This post may contain affiliate links. Please read my disclosure for more details!*

Ingredients you will need:
Butter/ Baking spread- I use baking spread because it comes to room temperature much faster than butter. It’s super important to use room-temperature ingredients because they will blend a whole lot better. For example, if the butter is too cold, it won’t cream properly with the sugar, which can impact the fluffiness and rise of your cakes.
Sugar- I use caster sugar because the grain size is much finer in comparison to granulated sugar. Caster sugar also dissolves and incorporates more quickly when creamed together with the butter.
Eggs- For most of my recipes I use UK large eggs. It’s super important that your eggs are at room temperature otherwise they won’t blend well with the rest of the batter, causing an uneven rise when baked.
Vanilla- You can use either extract or paste in this recipe. For the cake, I used vanilla extract.
Red food Colouring- It’s best to use food colouring paste because it’s a lot stronger in colour.
Buttermilk- This is a very important ingredient that will give your cupcakes a softer velvety texture. You can buy it in most supermarkets in the cream section, or you can make your own.
Raising Agent- To help the cakes rise further I use a teaspoon of baking powder. Baking powder already contains acid which means it will activate when mixed with liquids. Don’t use bicarbonate of soda
Flour- I use self-raising because it will ensure the cupcakes rise well.
Cocoa powder- Red velvet has a hint of chocolate, but is mostly vanilla. So this recipe only required a small amount.
Vinegar- Don’t be scared you’re not going to taste it, the vinegar helps activate the bicarbonate of soda but also makes the red colour more vibrant. I used apple cider vinegar, but you can also use white vinegar instead.
How to Make the Red Velvet Cupcakes:
The instructions are pretty similar to regular cupcake recipes, the only difference is there are a few extra ingredients.
Whisk butter and sugar until light and creamy. Then add the eggs and continue to whisk until smooth.
To make sure the red food colouring blends well, mix the food colouring and vanilla to make a paste. Then add it to the cake batter.
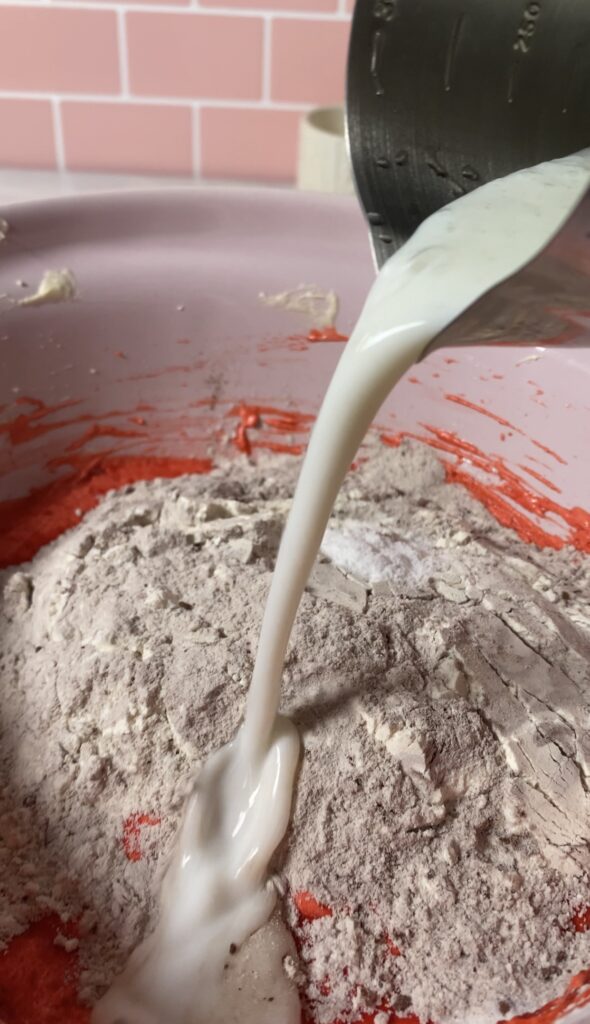
Next, add the dry ingredients with the buttermilk and vinegar and mix until just combined. And that’s pretty much it for the cupcake batter.
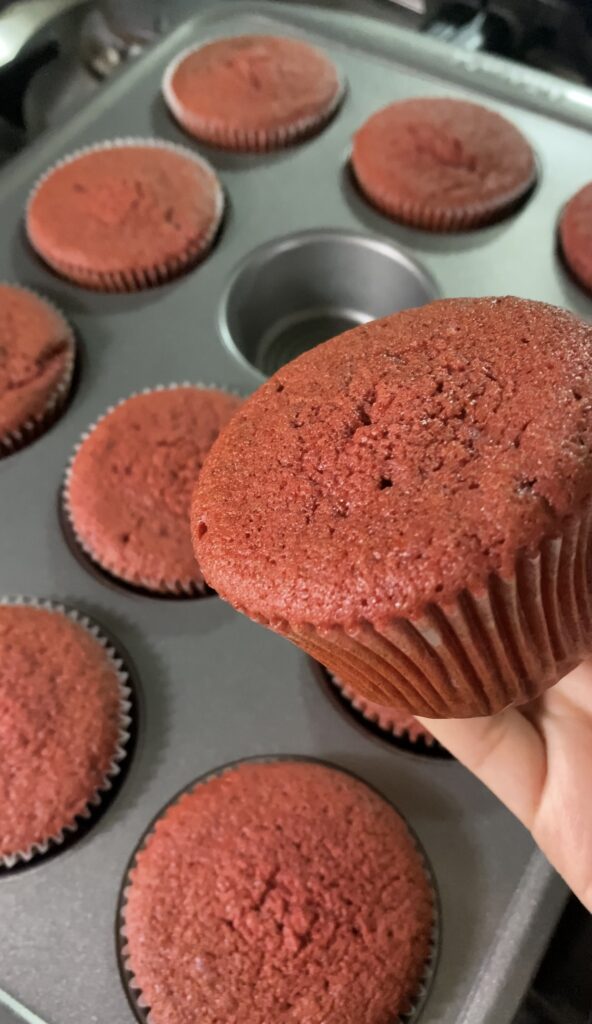
Bake in a 160C Fan preheated oven for around 20-22minutes. Or until an inserted skewer comes out clean.
Accurate Baking:
Weighing ingredients accurately is an important part of baking. So always use scales rather than guessing quantities by eye. The best scales to use are electric scales, as they are the most accurate.
Sieve your flour and cocoa powder… in the beginning, I didn’t see the point of sifting the flour unless there were clumps. However, it turns out that sifting your flour helps aerate it, which makes mixing it into the batter a lot easier and quicker. Over-mixing the flour can result in a slightly denser cake, so be careful not to over-mix.

Tips and Tricks:
Use room-temperature eggs: Make sure your eggs are at room temperature before you start baking. This will help everything blend well. If you forgot to take your eggs out of the fridge beforehand, fill a bowl with warm water (not hot or boiling water) and just leave the eggs to soak for around 10-15 minutes.
Don’t over-mix the cupcake batter: After adding the flour it’s important to not over-mix the batter. Mix on a low speed or use a spatula and just mix enough to combine. Over-mixing can cause your cupcakes to turn out dense.
Bake time: This is important…although I provide a bake time in most of my recipes, I would recommend using it as a guide as some ovens run hotter than others.
Opening the oven door: Keep an eye on the cupcakes but, don’t open the oven door when they are still rising. If you open the oven door too early the cupcakes will sink in the centre and the temperature in the oven will drop, causing a slightly dry crumb texture.
How To Check If The Cupcakes Are Done?
There are two easy ways to check if your cupcakes are done.
- Gently press the top of the cupcake. If the cupcake springs back it means they are done.
- You could also use a skewer or a toothpick. Insert the skewer near the centre of a cupcake, if the skewer comes out clean, the cupcakes are done.
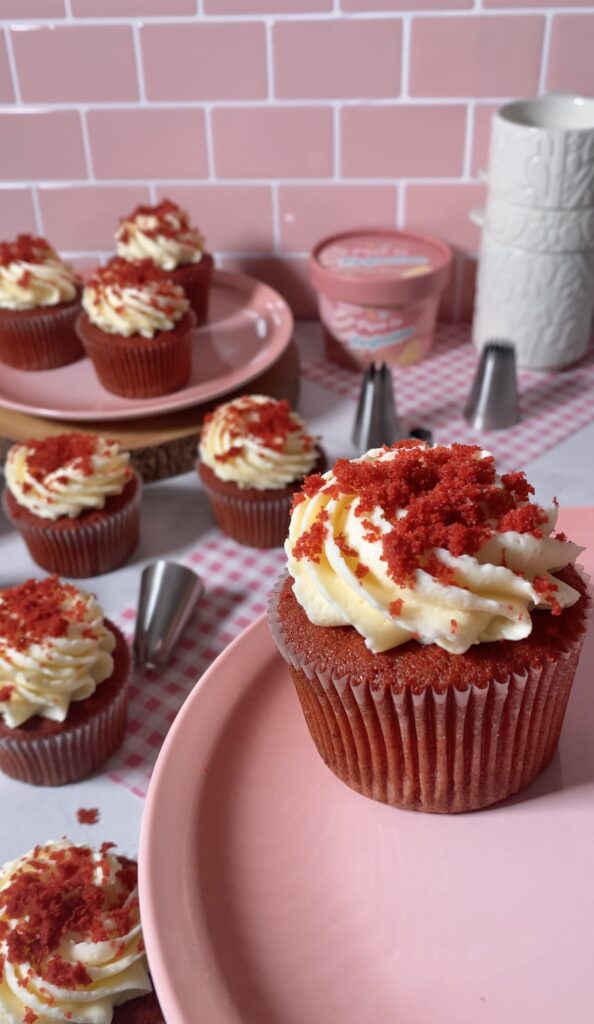
Decorating:
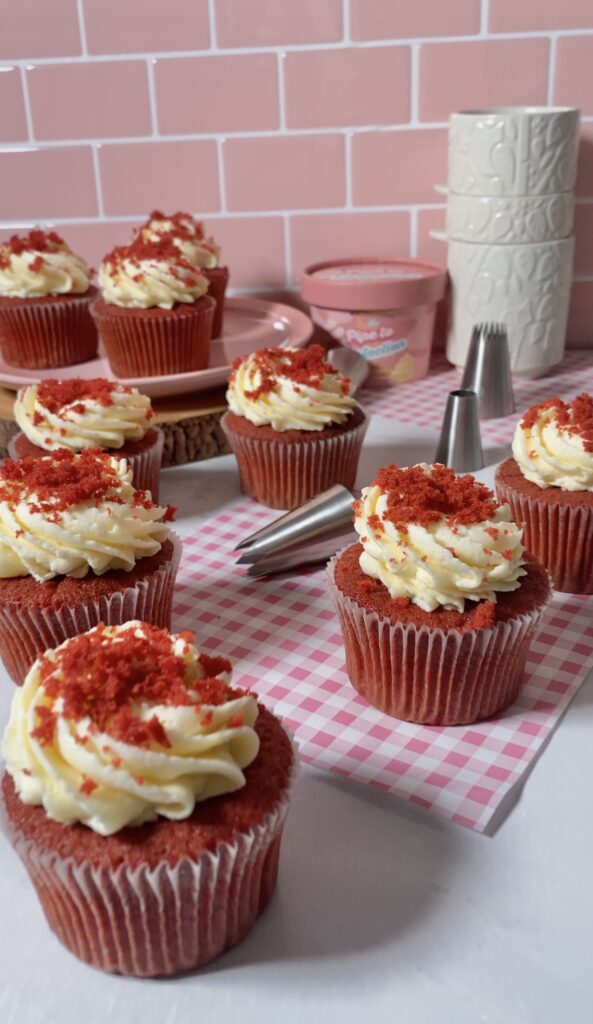
For the icing, I used my cream cheese frosting recipe. It isn’t overly sweet and has a nice tang that complements the red velvet flavour very well. However, if you don’t like cream cheese icing you can also use regular buttercream.
To make the cream cheese frosting start by creaming the softened butter and icing sugar until light and pale in colour. Then add the soft cream cheese…make sure the cream cheese is at room temperature otherwise it will make the frosting lumpy. Whisk until smooth, making sure you scrape the side of the bowl to ensure all the ingredients are well combined. As soon as everything is well-combined stop mixing, if you incorporate too much air the frosting will have a lot of air bubbles, which means when you pipe the cream won’t look as smooth. If you do over mix just use a spatula to knock out a few air bubbles until you are happy with the consistency.
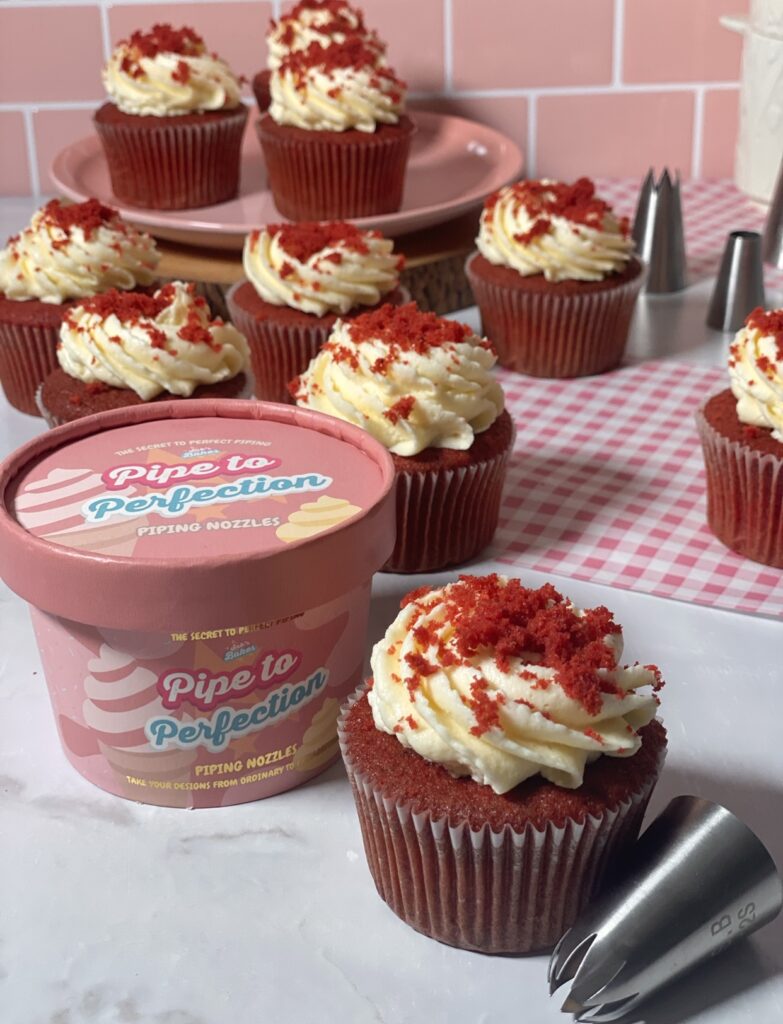
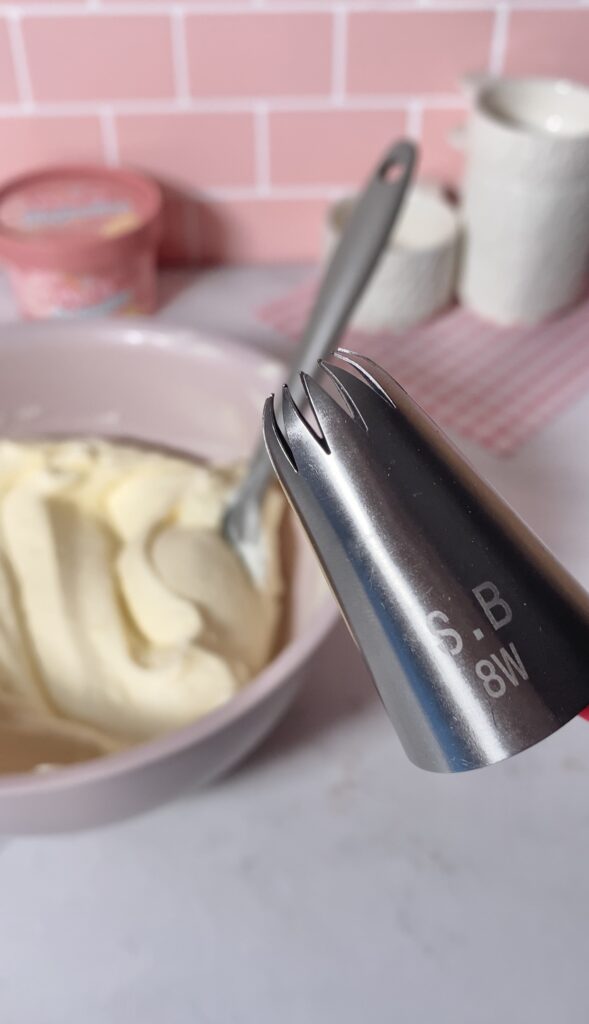
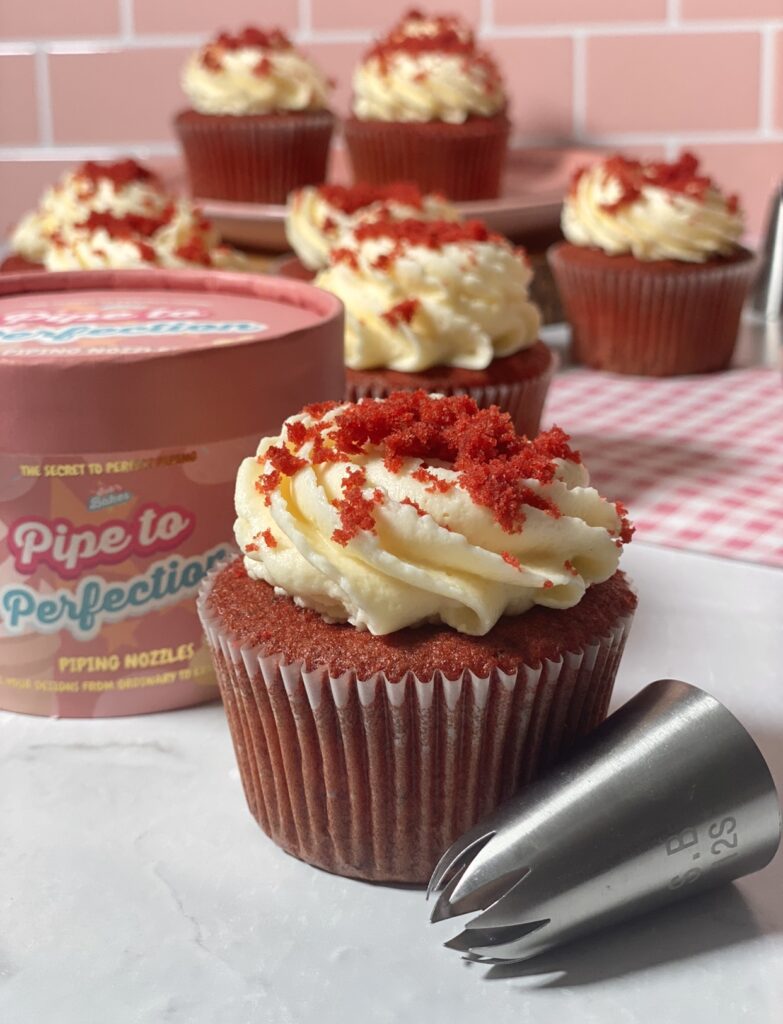
For this recipe, I use the 8W piping nozzle from the ‘Pipe to Perfection’ Collection. The points on the nozzle slightly curve in, this creates a more defined and sophisticated effect…which is exactly what I was going for. I don’t know why but I feel like red velvet cakes are just super fancy even though they have minimal decorations.
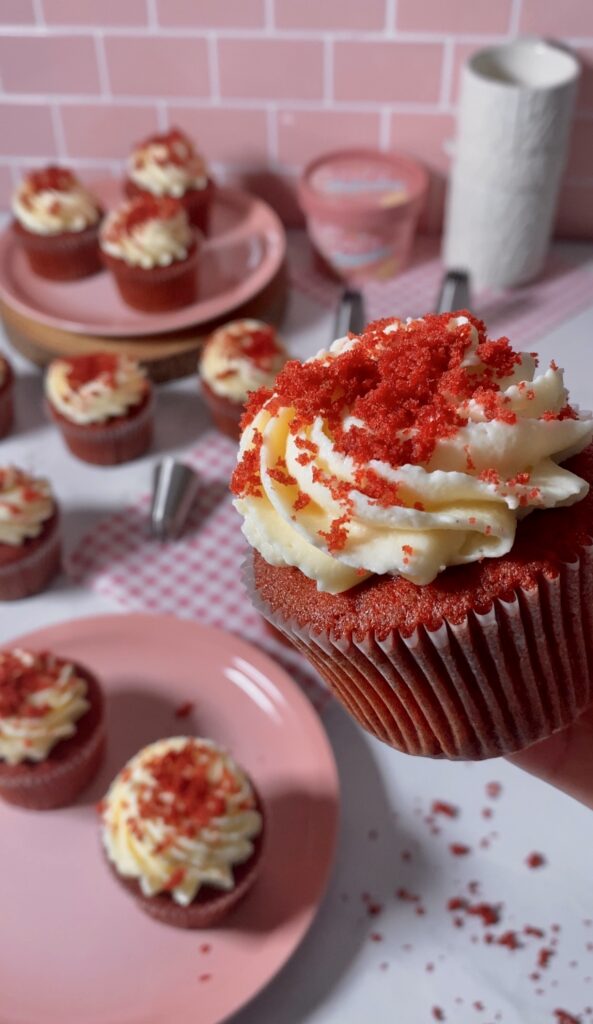
To finish off the decorating I used the spare cupcake and crumbled half of it, then sprinkled the crumbs over each cupcake…This is also a good way to hide any imperfections in the piping, but don’t tell anyone I said that.
Recommended Equipment
If you liked this recipe you might also like…
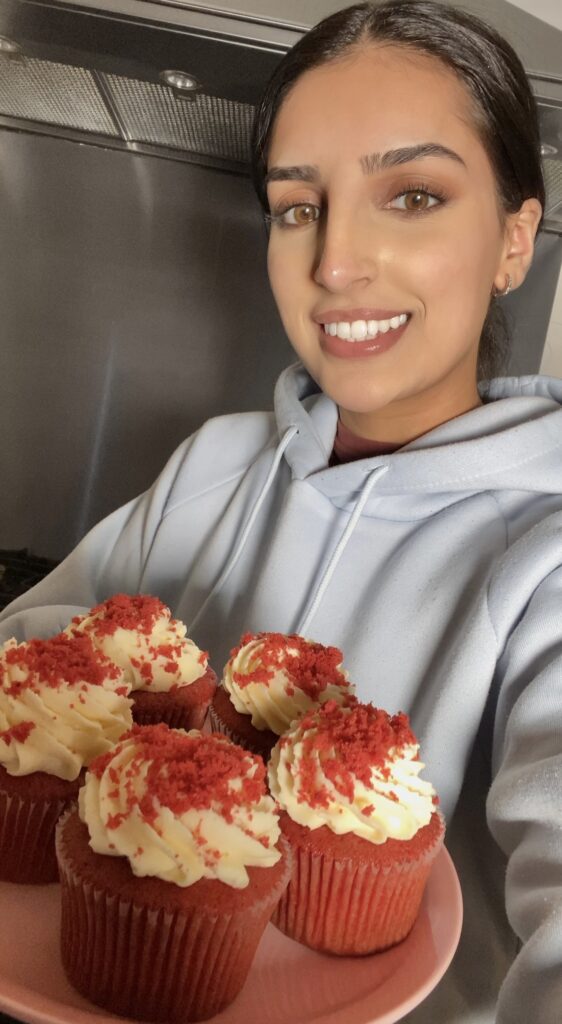
Don’t forget to take photos and tag me @sabsbakes if you do try this recipe, I would love to see your creations.
Also if you have any questions or need help with baking feel free to message me on Instagram or TikTok @sabsbakes and I will try my best to get back to you as soon as possible.
Happy Baking,
Sabs

Red Velvet Cupcakes
Description
Delicious red velvet cupcakes topped with the yummiest cream cheese frosting.
Ingredients
Cupcakes
Cream Cheese Buttercream
Instructions
-
Preheat the oven to 160C Fan.
-
In a bowl or stand mixer cream the butter and sugar, until light and fluffy. Then pour in the eggs and continue to whisk until well combined.
-
Mix the vanilla and red food colouring in a small bowl to form a smooth paste. Then pour into the cake batter and mix until combined.
-
Add the self-raising flour, cocoa powder and bicarbonate of soda and gently mix. Then add the buttermilk and mix until just combined.
-
Finally, add the apple cider vinegar and fold through making sure to scrape down the side of the bowl. (Avoid over-mixing).
-
Line a cake tray with cases. Then fill each cupcake case 2/3 of the way. This recipe makes 13 cupcakes.
-
Bake in a preheated oven for around 20-22 minutes or until an inserted skewer comes out clean from the centre of the cupcake.
-
Allow the cupcakes to cool completely on a cooling rack before decorating.
-
To make the cream cheese frosting whisk the butter and icing sugar until pale and fluffy. Then add the cream cheese and vanilla, then whisk until smooth.
-
Once the cupcakes have cooled, save one cupcake and pipe the frosting on top of the rest. I used the 8W nozzle from the Pipe to Perfection set.
-
Then using the extra cupcake, crumble it and use it for sprinkles on decorated cupcakes.
-
Once decorated enjoy. Store any leftovers in an airtight container in the fridge for up to 3 days.
Note
Store any leftovers in an airtight container in the fridge for up to 3 days.

