No-Bake Kinder Bueno Cheesecake Cups
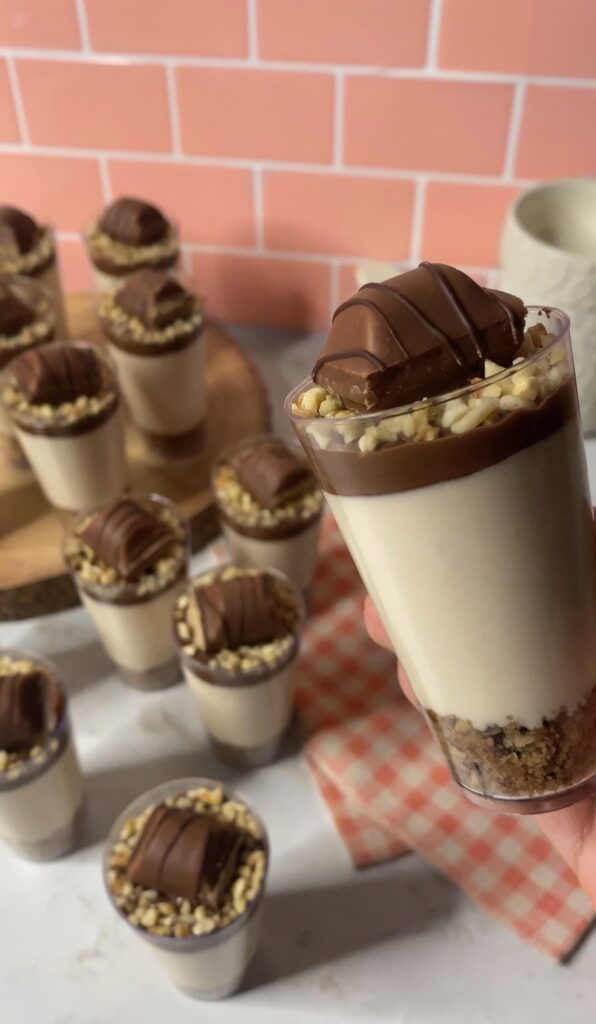
If you fancy something silky, creamy and delicious, you're in the right place! These Kinder Bueno cheesecake cups are super easy to make. So whether you are totally new to baking or have been baking for years, this recipe is perfect and will come together in no time.
*This post may contain affiliate links. Please read my disclosure for more details!*
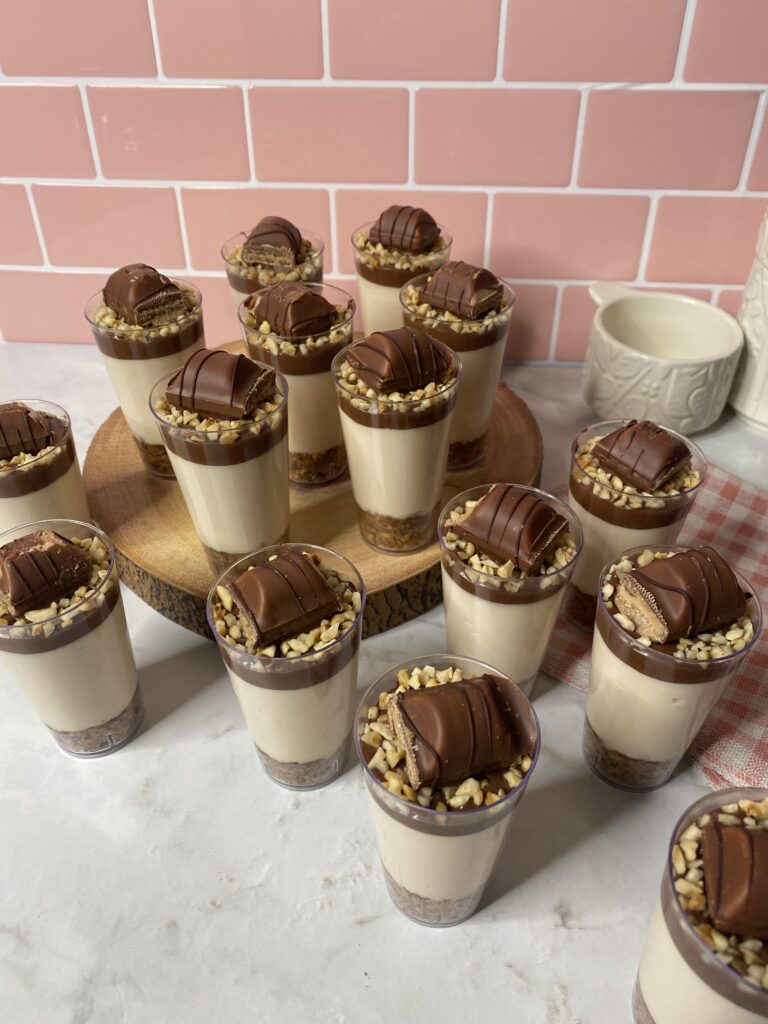
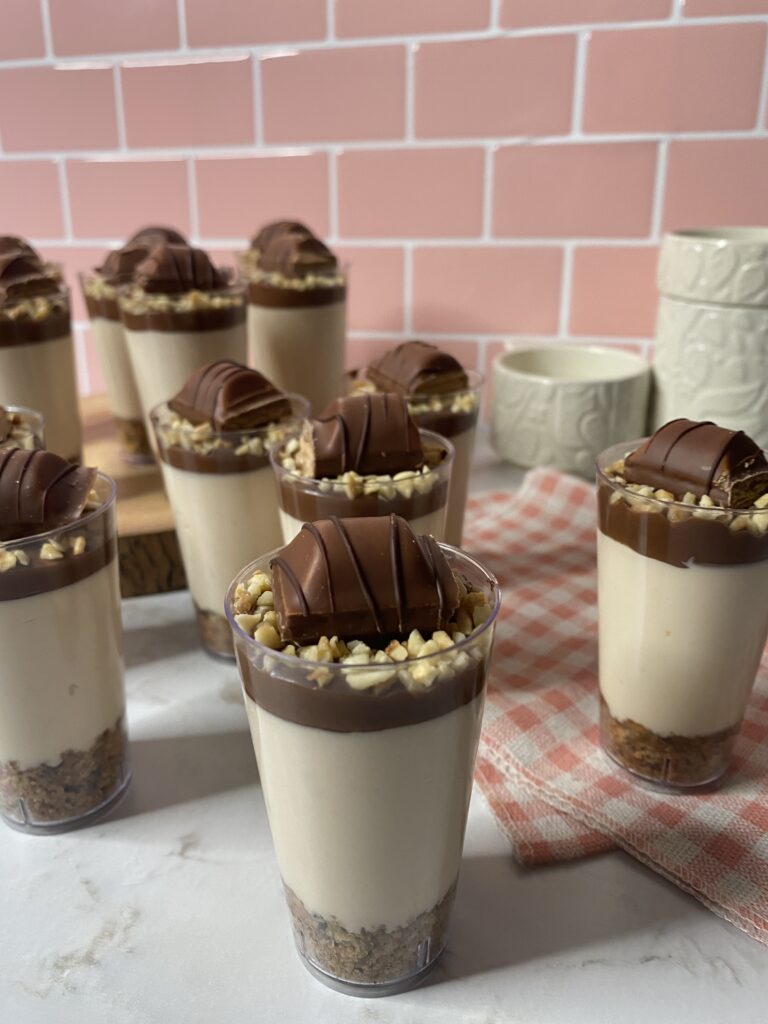
Breakdown of the Cheesecake
The dessert cup consists of 5 different layers. The first is…
1. Chocolate chip cookie base: For most of my cheesecake recipes I usually use digestives biscuits, but I thought I’d switch it up and try using cookies to make the cheesecake a little more exciting.
2. Cheesecake: So originally I wanted to use white chocolate hazelnut spread, but I couldn’t find it in any of my local supermarkets. I ended up melting kinder chocolate bars instead and adding them to the cheesecake mix. The smell of melted kinder bars is heavenly.
3. Chocolate Hazelnut Spread: I used Nutella.
4. Roasted Chopped Hazelnuts: The main flavour in the kinder bar is the hazelnuts, so I decided to decorate with some pre-roasted chopped hazelnuts, which I found at Tesco.
5. Kinder Bueno: To finish of the design I added a Kinder Bueno to each cup to make them look extra fancy.

Recommended Equipment
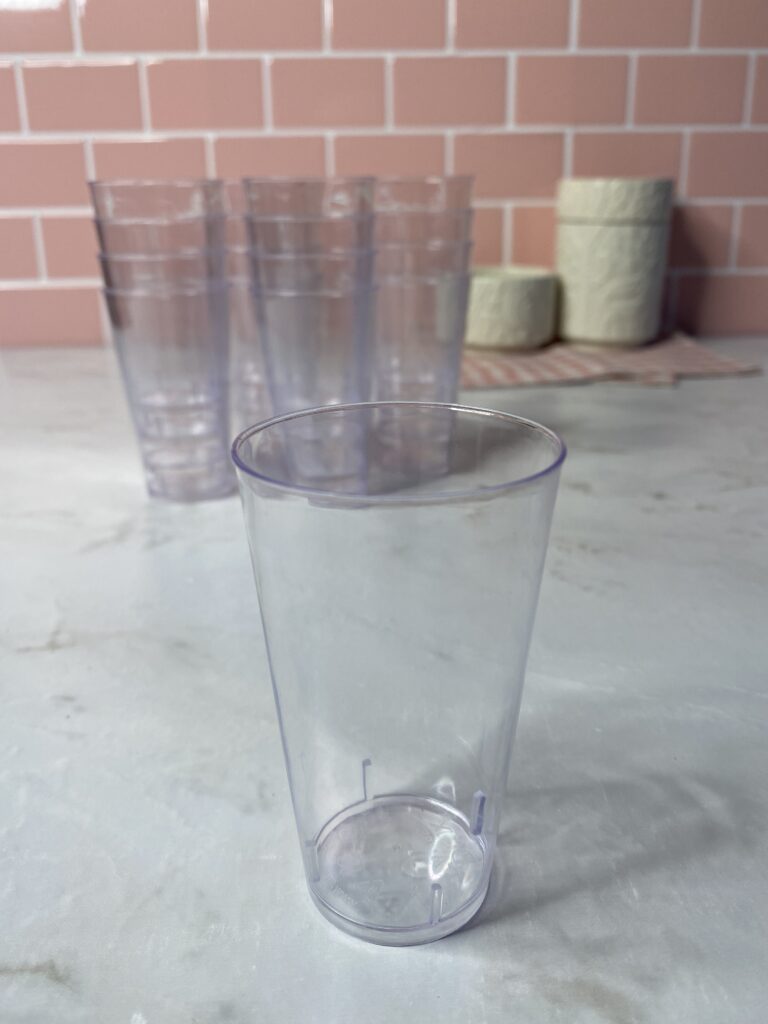
Dessert Cups: For this recipe, I used 3oz round dessert cups, which I purchase from Amazon. The ones I purchased also come with tiny spoons to serve them with.
Kitchen scales: Although I have provided cup measurements, I’d definitely recommend using digital scales as they provide the most accurate reading, making less room for errors.
Measuring spoons: They are great for measuring out small amounts of ingredients. I also like to use them to equally divide the biscuits between each dessert cup.
Fondant Rolling Pin: My favourite tool for crushing biscuits. The rolling pin makes crushing biscuits so fun and satisfying, because of the flat edge. If you decide to upscale the recipe you can use a food processor to crush the biscuits instead.
Electric whisk: To make the cheesecake light and airy I recommend using an electric whisk or a stand mixer.
Spatula: To ensure all of the ingredients are incorporated well, I use a large spatula to scrape the side of the bowl.
Piping bags: The easiest way to add the cheesecake mixture to each dessert cup is by using a large piping bag. Make sure the piping bag is good quality because you wouldn’t want the mixture to burst out the sides of the bag.

Ingredients to make the Kinder cheesecake cups
- Roasted Hazelnuts Chopped- I used pre-roasted because I’m lazy. If you can’t find chopped hazelnuts you could also use chopped almonds instead.
- Chocolate Chip Cookies- I used the classic milk chocolate chip cookies.
- Icing Sugar- Also known as powdered sugar. If your icing sugar is a little lumpy, use a sieve to sift through any lumps, to prevent your cheesecake from becoming lumpy.
- Melted Butter- You could use baking spread or unsalted butter, both will work in this recipe.
- Cream Cheese- Use good quality, full-fat cream cheese at room temperature. When I make cheesecakes I always pour off any excess liquid that sit at the top of the pack. This will help the cheesecake set properly.
- Kinder Bueno- I used the milk chocolate ones. You could also use the white chocolate version. It’s entirely up to you.
- Double Cream- (Heavy cream) make sure you use double cream and not single cream because the fat in the cream is going to whip up and help stabilise the cheesecake filling.
- Chocolate Hazelnut Spread-I used Nutella, any chocolate hazelnut spread will work.
- Kinder Chocolate Bars- I used a total of 4 large kinder bars.

How to make the Cheesecake Cups?
Start by crushing the biscuits into fine crumbs. Then add the melted butter and mix until the biscuit resembles a wet sand consistency.
Add around 3tsp of biscuits to each dessert cup. This recipe makes around 16 dessert cups. Once you have equally divided your biscuits use another dessert cup to push the biscuits flat to create a base for your cheesecake.


In a bowl add cream cheese, icing sugar and melted kinder bars. Whisk together using an electric whisk for a few seconds until all of the ingredients are well combined.
Next, pour in the cold double cream. Continue to whisk until the cream starts to firm up and holds its shape.


Add the mixture to a large piping bag. Then pipe equal amounts of cheesecake filling into each dessert cup. Make sure you leave a gap for the decorations. Once all the cups are filled, tap each cup on a flat surface to push out any air bubbles. Place them in the fridge to set for 3-4 hours.


Once the cheesecake has set, add half a tablespoon of melted chocolate hazelnut spread onto each dessert cup. Then sprinkle with chopped roasted hazelnuts and a single Kinder Bueno and you’re done.


Questions & Answers
Here are a few common questions I get asked about my cheesecake recipes:
What size dessert cups do I use?
For this recipe, I used 3oz round dessert cups, which I purchased from Amazon. The ones I purchase also come with tiny spoons to serve them with.
What did I use to press the biscuit flat?
To press the biscuits, I used a dessert cup the same size as the one with the biscuits inside. The dessert cup will ensure the edges are perfectly even, resulting in a super neat layer.
The reason why I push the biscuit base flat is to prevent the cheesecake mixture from mixing with the biscuit base. If it doesn’t bother you, feel free to skip this step.
Why is my cheesecake mixture runny/not whipping up?
There are many reasons which could cause a runny cheesecake mixture. The first being the double cream wasn’t cold enough. Warm cream doesn’t whip up, to fix this place the bowl in the fridge for a few minutes. When the cream is cold continue to whisk like normal, the cream should start to thicken.
Another cause could be the type of cream you are using. It is important to use full-fat double cream as it has a higher fat content. The fat content in the cream is what’s going to help the mixture thicken.
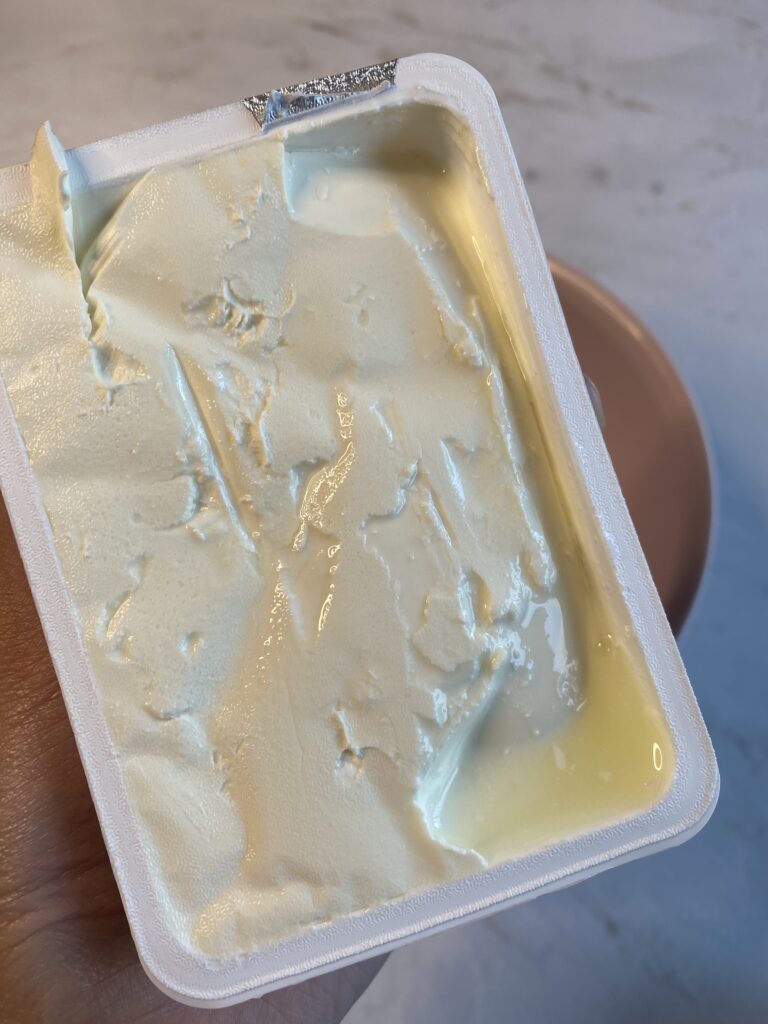
Some soft cream cheese brands contain excess liquids. When opening the pack you’ll see a little bit of liquid that has separated. Simply pour and squeeze out any of the extra liquids before taking the cream cheese out of the pack.
How long do the cheesecakes take to set?
The larger the cheesecake the longer it takes for the cheesecake to set. Dessert cups don’t take too long to set because they are small. I’d recommend leaving them in the fridge for around 3-4 hours.
Why is my cheesecake lumpy?
When you add the soft cream cheese to the mixture it’s important the cream cheese is at room temperature. Cream cheese will blend easier with the rest of the ingredients when it’s softer. If you blend cold cream cheese you’ll end up with clumps of cream cheese separated from the cream resulting in a lumpy texture.
If you have any additional questions or would like some help with baking feel free to message me on Instagram @sabsbakes. I will try my best to get back to you as soon as possible.
Happy Baking,
Sab’s
Delicious Mini Kinder Bueno cheesecake cups made with a chocolate chip cookie base, a creamy kinder-flavoured cheesecake. Topped with yummy chocolate hazelnut spread, roasted hazelnuts and Kinder Buenos for the ultimate dessert cup treat.
- 180 g Chocolate Chip Cookies (17 Cookies)
- 40 g Melted Butter (1/2 Cup)
- 400 ml Double Cream (2 Cups)
- 200 g Soft Cream Cheese (1 Cup)
- 70 g Icing Sugar (1/2 Cup)
- 85 g Kinder Chocolate Bars (4 large bars)
- 50 g Roasted Chopped Hazelnuts (1/2 Cup)
- 150 g Chocolate Hazelnut Spread (3/4 Cup)
- 2 Kinder Bueno Bars
Start by crushing the chocolate chip cookies into fine crumbs.
Pour in the melted butter and mix until the cookies resemble a wet sand consistency.
Add around 3 tablespoons of biscuits to each dessert cup (this recipe makes 16). Using another cup squish the biscuits down to create a flat base.
In a bowl cream together cream cheese, icing sugar and melted kinder chocolate using an electric whisk.
Add the cold double cream to the bowl and continue to whisk until the cream starts to firm up. Then add the cheesecake mixture to a large piping bag.
Next, pipe the filling into each dessert cup, making sure you leave room for the decorations. Once all the cups are filled, tap each cup on a flat surface to push out any air bubbles.
Place the cheesecakes in the fridge to set for 3-4 hours.
Add a tablespoon of melted chocolate hazelnut spread. Then sprinkle with the roasted hazelnuts.
Finally, add a single Kinder Bueno to each cup and enjoy.
I’d recommend serving the cheesecake cold from the fridge. These cheesecakes will last up to 3 days stored in the fridge.
If you do plan on using the dessert on the next day, I’d recommend leaving the decorating for the next day to prevent the Kinder Buenos from becoming soft (Buenos can become a little chewy if you leave them in the fridge because of the wafer part inside).
Thank you for stopping by