No-Bake Chocolate Milkshake Cheesecake Cups
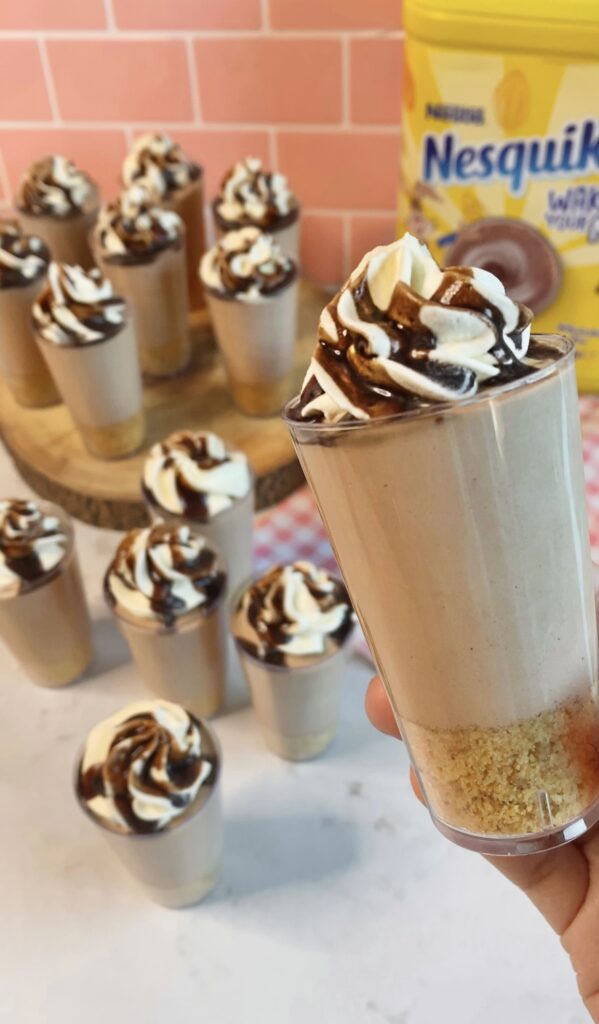
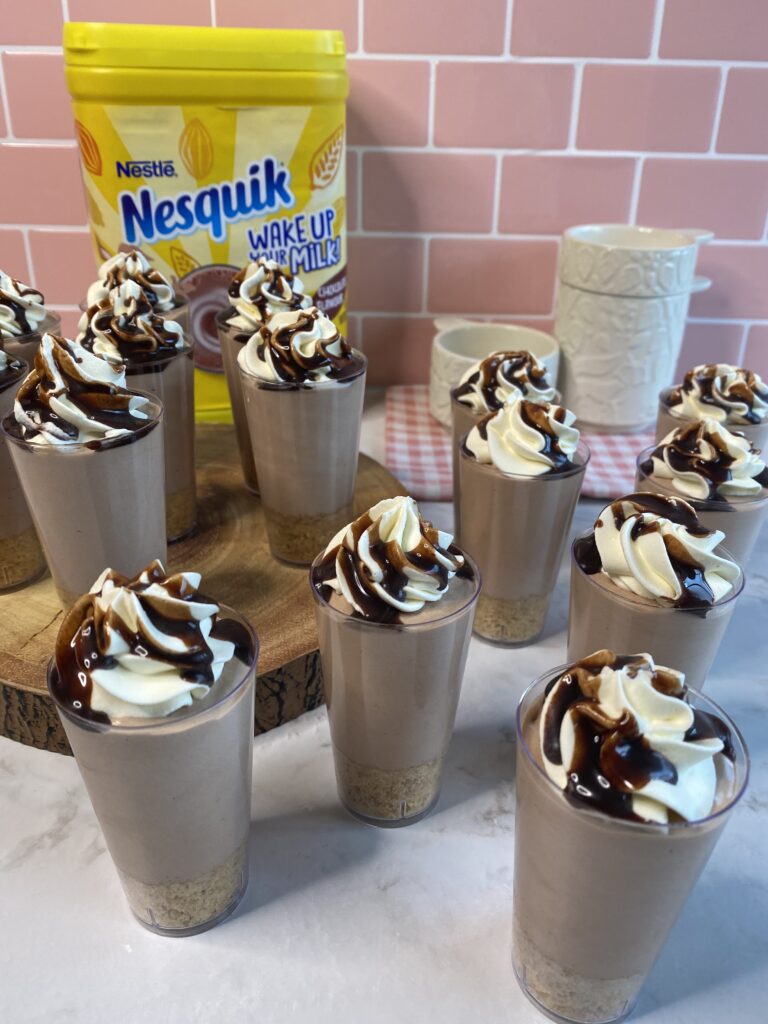
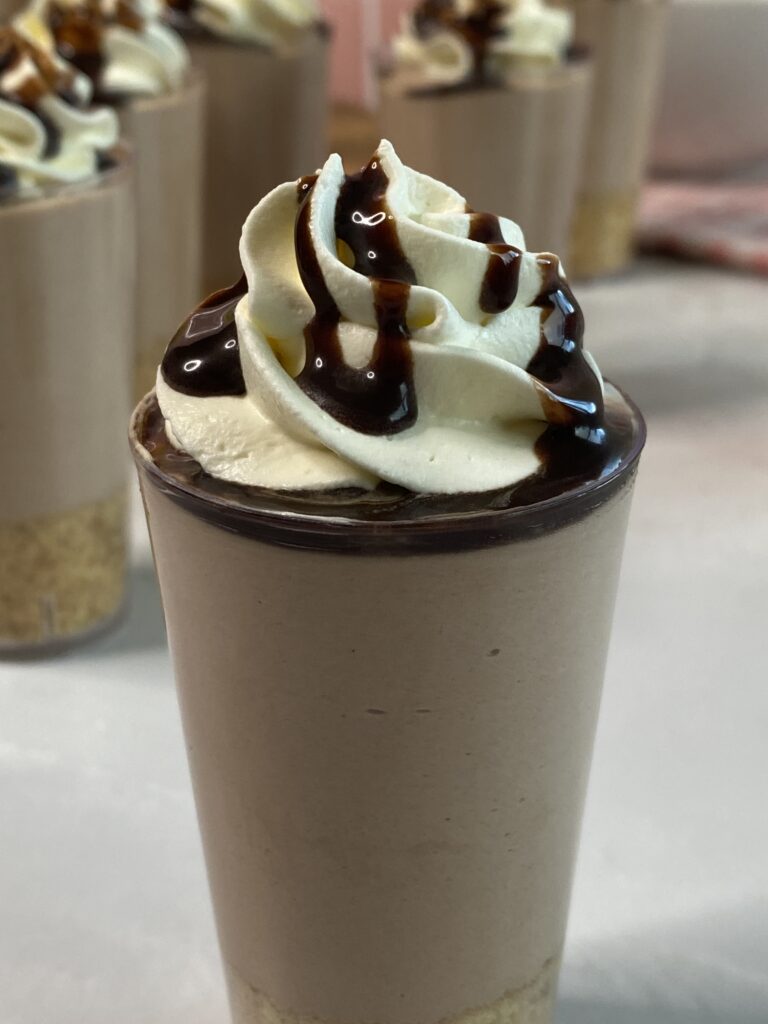
A couple of months ago I posted a recipe for my strawberry milkshake cheesecake cups. The recipe was definitely one of my favourite flavours, so I thought it's only fair if I make a chocolate version for all of my chocolate lovers out there. So here it is a super light and creamy chocolate milkshake-flavoured cheesecake topped with fresh homemade whipped cream and a delicious chocolate drizzle.
This recipe is more lighter and airy in comparison to a classic cheesecake, which is what I generally prefer, especially after eating an entire roast dinner. There should always be room for dessert. Overall this recipe is fantastic and will not disappoint I guarantee your friends and family will love this just as much as I do.
*This post may contain affiliate links. Please read my disclosure for more details!*
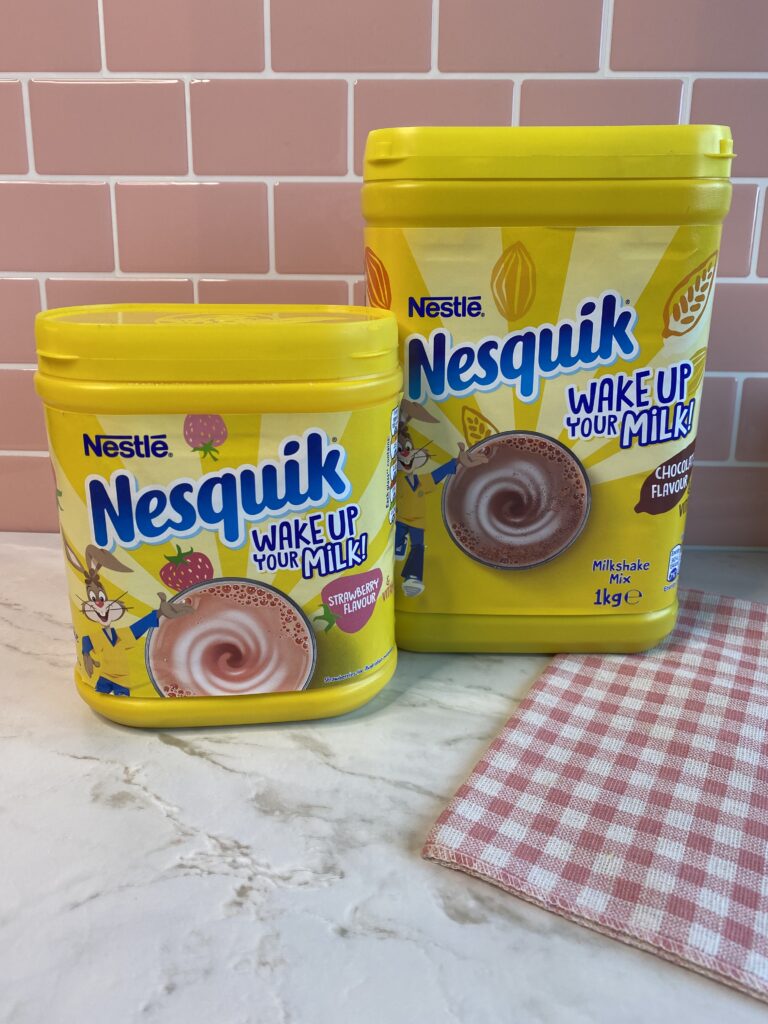
What is Nesquik powder?
In the UK Nesquik is a company that sells milkshake powders in 4 different flavours. This includes strawberry, chocolate, banana and their new choco caramel flavour. They’re mostly used in milk to enhance the benefits of milk. For example, they contain vitamins such as vitamin D, Iron and Zinc.
As a child, I was obsessed with the strawberry flavour. Every day when I came back from school my mum or dad would always make the Nesquik milkshake for me and my sisters.
Nesquik is available in many supermarkets in the UK including shops such as Asda, Tesco, Lidl and even Costco. Some supermarkets such as Aldi also sell their own brand versions which work just the same. They’re slightly cheaper, which is perfect if you’re on a budget.
What ingredients Do I need?
Butter: At the bottom of the dessert cup there is a biscuit base. To make the biscuits form a solid base we use a little bit of butter to stick the biscuits together. For dessert cups it’s always better to use less than too much, this is because if the base is too solid the biscuits will be stuck at the bottom of the cup when you eat it.
Biscuits: For most of my dessert cups I use digestive biscuits, this is because they aren’t overly sweet which helps add a nice balance to the cheesecake itself. In the US I think gram crackers are probably the closest to a digestive.
Double Cream (Heavy Cream): Whenever a recipe requires you to whip the cream to stiff peaks I’d always recommend leaving the cream in the fridge. Cold cream whips up so much quicker.
Soft Cream Cheese: In the UK I don’t think they sell blocks of cream cheese. So in all my recipes that require cream cheese, I use soft cream cheese, which is a spreadable version. Philadelphia, Lidl’s own brand and Aldi’s own brand work perfectly for this recipe.
Icing Sugar: For added sweetness, I like to use a little bit of icing sugar. Make sure you sieve the icing sugar if you have any clumps, to prevent the cheesecake from going lumpy.
Chocolate Milkshake Powder: For this recipe, I’m using Nesquik’s Chocolate flavour. Side note-chocolate milkshake powder isn’t the same as cocoa powder. The powder also comes in various other flavours, so feel free to experiment with other flavours too.
Chocolate Dessert Sauce: For the drizzle, I used a chocolate-flavoured dessert sauce which I found in the baking section in Lidl. If you can’t find this you can make a chocolate ganache drizzle by using a 2:1 ratio of chocolate and Double cream. For example, 50 grams of melted chocolate and 25 grams of cream.
Recommended Equipment
- Dessert Cups: For this recipe, I used 3oz round dessert cups, which I purchase from Amazon. The ones I purchased also come with tiny spoons to serve them with.
- Kitchen scales: For most of my recipes, I use digital scales as they provide the most accurate reading, making it the most efficient way to measure your ingredients.
- Measuring spoons: They are great for measuring out small amounts of ingredients. I also like to use them to divide the biscuits between each dessert cup equally.
- Fondant Rolling Pin: My favourite tool for crushing biscuits. The rolling pin makes crushing biscuits so fun and satisfying, because of the flat edge. If you decide to upscale up the recipe you can use a food processor to crush the biscuits too.
- Electric whisk: To make the cheesecake light and airy I recommend using an electric whisk or a stand mixer.
- Spatula: To ensure all of the ingredients are incorporated well, I use a large spatula to scrape the side of the bowl. You can find good quality kitchen utensil sets which come in a variety of colours. I purchased the pink set, but they also have more neutral colours too.
- Piping bags: The easiest way to add the cheesecake mixture to each dessert cup is by using a large piping bag. Make sure the piping bag is good quality because you wouldn’t want the mix to burst out the sides of the bag.
- Open Star Nozzle: For the whipped cream I used the Wilton 1M open star nozzle.
How to make the Cheesecake Cups?
Step 1: In a large bowl add the digestive biscuits. Using the fondant rolling pin crush the biscuits into fine crumbs. Rather than bashing the biscuit, I use a squishing method as it prevents the biscuits from flying out of the bowl. Also by squishing the biscuits you can achieve equal fine crumbs in no time. I timed myself and it took me less than 5 minutes to fully crush the biscuits. Alternatively, you can use a food processor instead if you are in a hurry or want to upscale the recipe.


Step 2: Once the biscuits are crushed into fine crumbs, it’s time to add the melted butter. Using a spatula mix the biscuits with the butter until the mixture resembles a wet sand consistency.
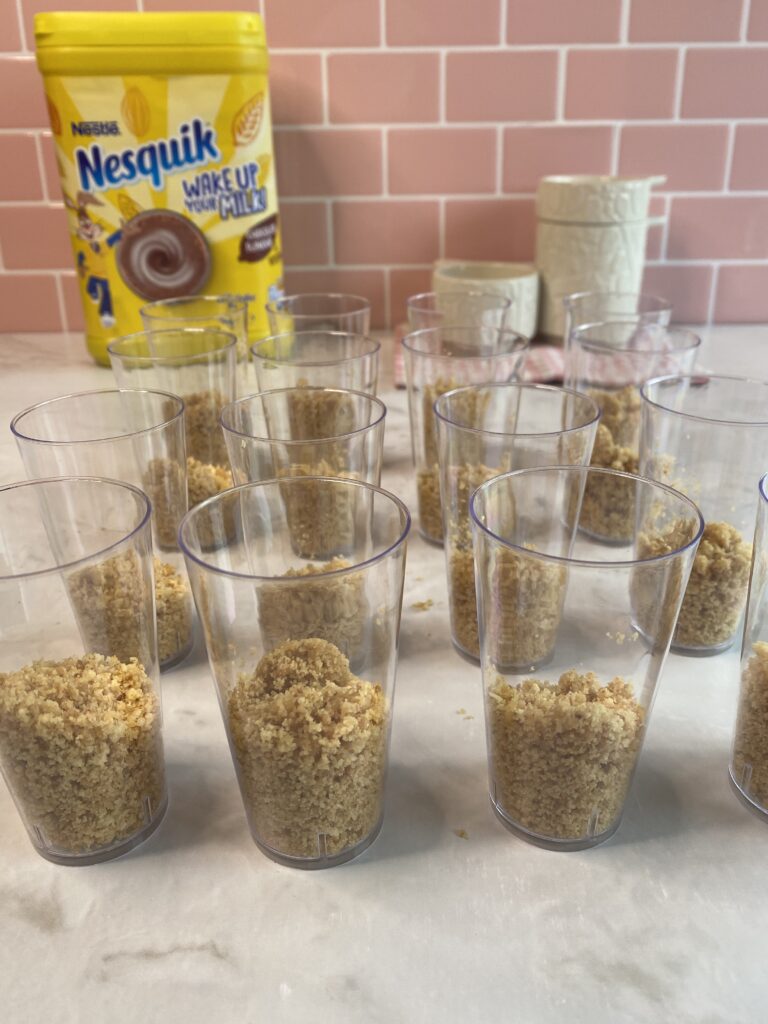
Step 3: Next, divide the biscuit mixture equally between 16 dessert cups. The easiest way to equally divide the biscuits is by using measuring spoons. I usually add 2-3 heaped teaspoons to each cup.
Step 4: After equally dividing the biscuits into each dessert cup, press the biscuits flat to form a solid base ready for the cheesecake mixture. The easiest way to do this is by using another cup the same size and then pressing the base flat. Once you have repeated the process for each cup, set them aside.


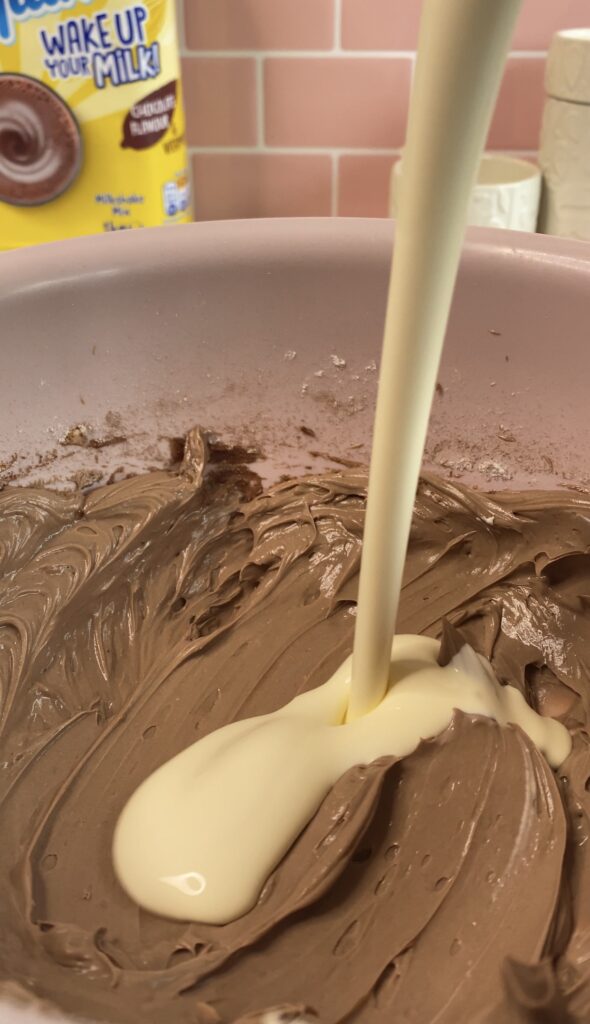
Step 5: In a large bowl add the cream cheese, icing sugar and chocolate milkshake powder. Then whisk for a few seconds until everything is combined. Once you have done this, pour in the double cream. Then continue to whisk together until the cream starts to form soft peaks and holds its shape. It’s important to not over-whisk the cheesecake mixture as this can sometimes cause the mixture to go runny.
Step 6: Add the cheesecake mixture to a large piping bag. Then pipe the mixture into each dessert cup. You might see pockets of air in the cups, but that’s completely normal. Simply tap each cup on a flat surface until there are no visible air bubbles.


Step 7: Place the dessert cups in the fridge to chill while you prepare the whipped cream decorations. In a bowl whisk together the double cream, icing sugar, and vanilla until it reaches soft peaks. Add the cream to a piping bag fitted with an open star nozzle.
Step 8: Pipe little swirls onto each dessert cup, then decorate with chocolate drizzle. Once decorated refrigerate for 3-4 hours in the fridge until set. Once they are set you can enjoy them.
What Dessert Cups Did I Use?
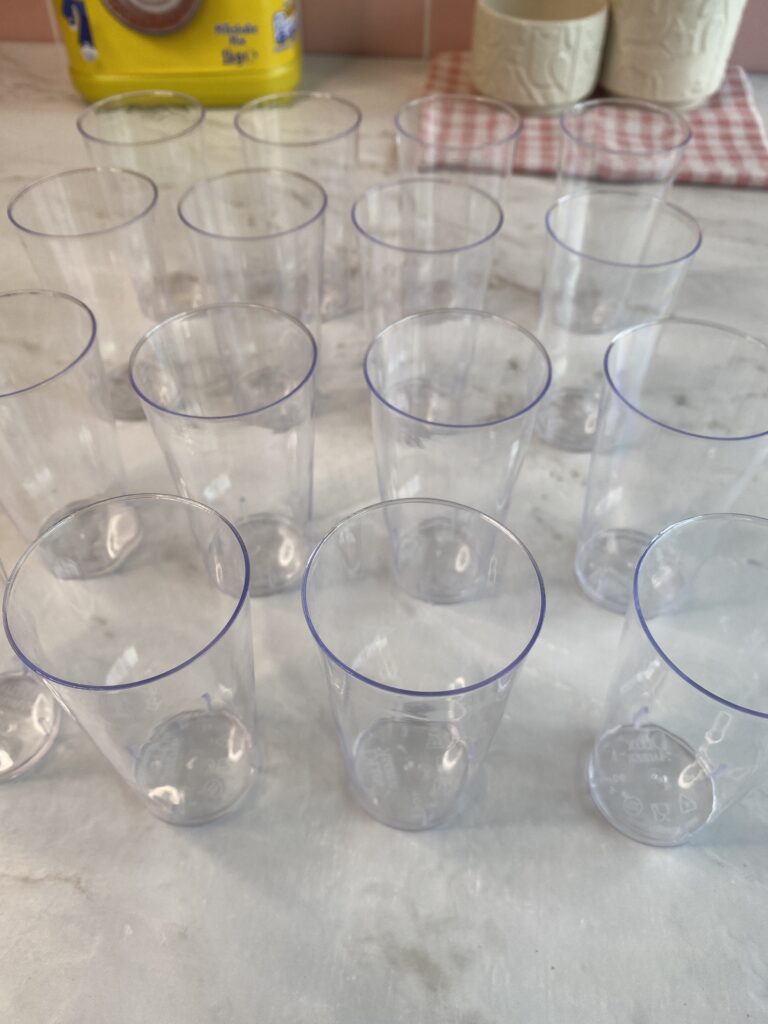
For this recipe, I used 3oz round dessert cups, which I purchased from Amazon. The ones I purchase also come with tiny spoons to serve them with.
How to achieve a flat biscuit base?
To achieve a perfectly flat base I use a dessert cup the same size as the one with the biscuits inside. Using the dessert cup will ensure the edges are perfectly even, resulting in a super neat design overall.
The reason why I push the biscuit base flat is to prevent the cheesecake mixture from mixing with the biscuit base. I’m a perfectionist and pay attention to the little details, but if it doesn’t bother you, feel free to skip this step.
Why is my cheesecake mixture runny/not whipping up?
There are many reasons which could cause a runny cheesecake mixture. The first being the double cream wasn’t cold enough. Warm cream doesn’t whip up, to fix this place the bowl in the fridge for a few minutes. When the cream is cold continue to whisk like normal, the cream should start to thicken.
Another cause could be the type of cream you are using. It is important to use full-fat double cream as it has a high fat content. The fat content in the cream is what’s going to help the mixture thicken.
Some soft cream cheese brands contain excess liquids. When opening the pack you’ll see a little bit of liquid that has separated. Simply pour and squeeze out any of the extra liquids before taking the cream cheese out of the pack.


How long do the cheesecakes take to set?
The larger the cheesecake the longer it takes for the cheesecake to set. Dessert cups don’t take too long to set because they are small. I’d recommend leaving them in the fridge for around 3-4 hours.
Why is my cheesecake lumpy?
When you add the softened cream cheese to the mixture it’s important the cream cheese is at room temperature. Cream cheese will blend easier with the rest of the ingredients when it’s softer. If you blend cold cream cheese you’ll end up with clumps of cream cheese separated from the cream resulting in a lumpy texture.
Can I make one large cheesecake instead?
Unfortunately no, this recipe is designed for a cup, because the mixture is so light and airy that mixture won’t hold itself fully without the extra support from the cup (it might once it sets but the cheesecake would be very fragile). Also, the ratios for the biscuit base would have to change because you would want a base that is fully solid to support the cheesecake when outside of the tin.
Light and creamy chocolate milkshake-flavoured cheesecake cups, displayed in individual portions. Perfect for parties and special occasions.
- 170 g Digestive biscuits
- 50 g Unsalted Butter
- 400 ml Double Cream (Cold)
- 200 g Cream Cheese (Room-temperature)
- 50 g Icing Sugar
- 6 tbsp Chocolate Milkshake Powder (Nesquik)
- 150 g Double Cream (Cold)
- 30 g Icing Sugar
- 1 tsp Vanilla extract (optional)
- Chocolate dessert Sauce
Begin by crushing all of the digestive biscuits into fine crumbs (using a food processor or rolling pin). Then melt the butter in the microwave for a few seconds until fully melted. Once fully melted add to the crushed biscuits and mix to form a wet sand mixture.
Divide the mixture equally between 16 dessert cups. I added around 2-3 teaspoons to each cup. Then press the biscuits using another dessert cup to create a perfectly flat base for the cheesecake filling.
In a large bowl whisk the cream cheese, icing sugar and chocolate milkshake powder using an electric whisk, until all of the ingredients are well combined. Then pour in the double cream and continue to mix until the mixture thickens and holds its shape.
Once fully combined add the mixture to a large piping bag. Then pipe the mixture into each cup. Tap the cups on a flat surface to push out any air bubbles caused when piping.
To make the whipped cream, add the double cream, icing sugar and vanilla extract to a bowl, and whisk until stiff peaks form.
Then place the whipping cream in a piping bag using a piping nozzle of your choice. I used the Wilton 1M, but any open-star nozzle should work just fine.
Pipe a small amount of cream on each cup. Then drizzle with the chocolate sauce or ganache.
Place in the fridge to chill for around 3-4 hours until set. Once chilled enjoy.
I’d recommend serving the cheesecake cold from the fridge. These cheesecakes will last up to 3 days stored in the fridge.
Thank you for stopping by