
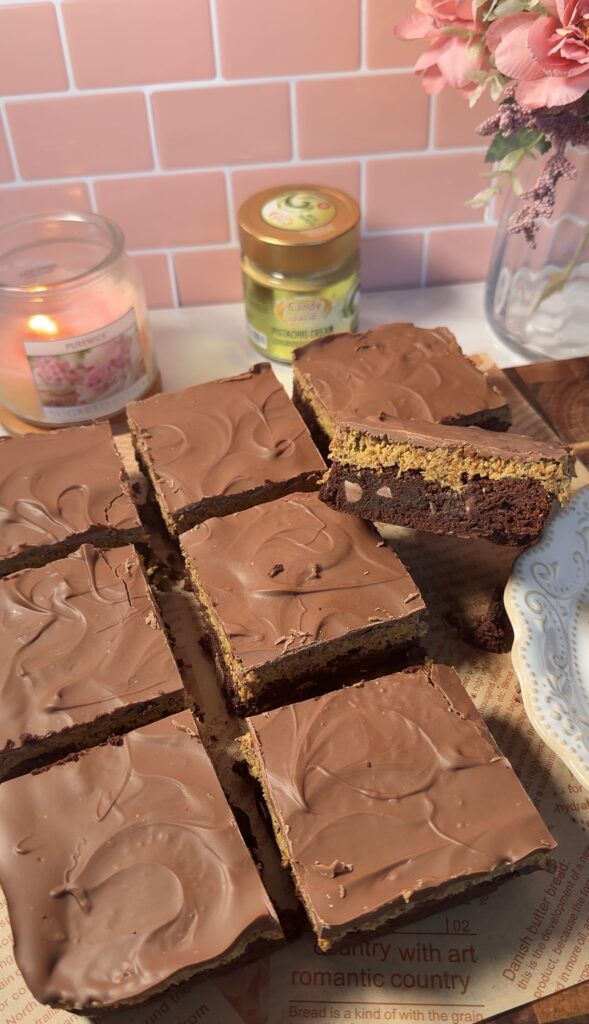
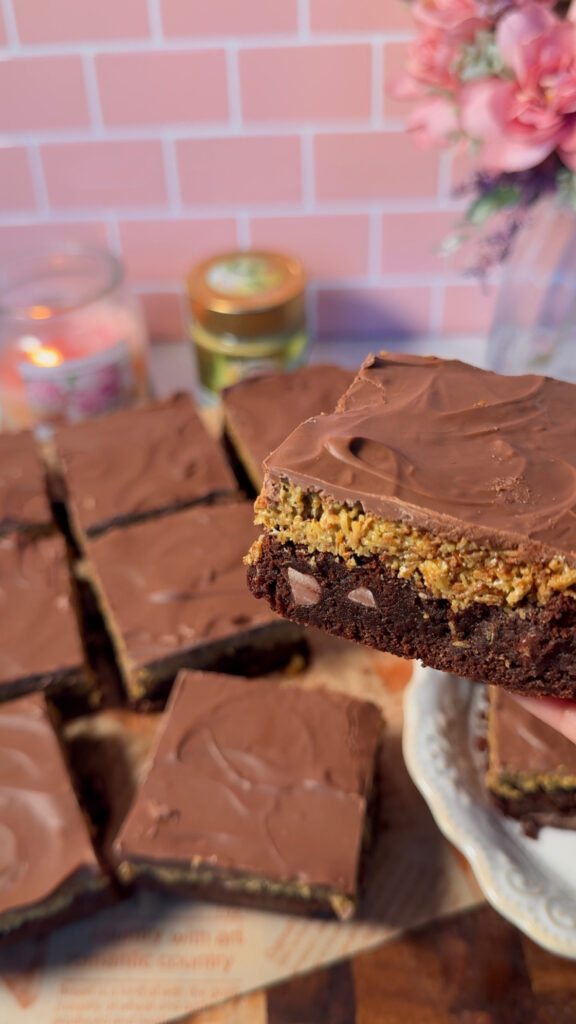
If you love brownies and Middle Eastern desserts, this recipe is going to be your new obsession. These Dubai-style chocolate brownies are baked to fudgy perfection, then topped with buttery kunafa pastry and silky pistachio cream. The contrast of soft, gooey chocolate and crisp kunafa makes every bite unforgettable.
They look stunning, taste luxurious, and bring that Dubai café vibe right into your kitchen.
Tips for Perfect, Fudgy Brownies
1. Use good-quality chocolate.
The better your chocolate, the deeper and richer the flavour. Since this recipe is all about indulgence, go for a good dark chocolate (around 70%) and real cocoa powder — it makes a huge difference.
2. Don’t overmix the batter.
Once you add the dry ingredients, fold gently until just combined. Overmixing can make your brownies dense or cakey instead of fudgy.
3. Let your chocolate mixture cool slightly.
If it’s too hot when you mix it with the eggs, it could scramble them! Let it cool for a few minutes before adding.
4. Don’t overbake.
Brownies continue to cook a little as they cool. Take them out when the edges are set but the centre still looks slightly soft — that’s the secret to the perfect gooey texture.
5. Cool completely before topping.
Since your recipe has a kunafa and chocolate topping, patience is key! A fully cooled brownie gives you clean layers and a perfect texture.
6. Use a metal tin for even baking.
Glass dishes can retain too much heat and overbake the edges. A light-coloured metal pan gives the most even, consistent results.
7. Line the tin with parchment paper.
It makes removing (and slicing!) so much easier — no brownie left behind.
8. Chill before cutting.
Pop the baked brownies in the fridge for 30 minutes before slicing — you’ll get neat, café-worthy squares every time.
9. Experiment with mix-ins!
Try adding chopped nuts, chocolate chunks, or even a swirl of tahini for an extra Middle Eastern twist.
10. Store them right.
Keep them in an airtight container at room temperature for up to 3 days, or in the fridge for up to a week. They taste even better the next day as the flavours deepen.


Dubai Chocolate Brownies
Description
Rich, fudgy brownies topped with golden kunafa pastry and creamy pistachio filling. A taste of Dubai in every bite!
Ingredients
Brownie
Kunafa Filling
Chocolate Layer
Instructions
-
Preheat your oven to 160°C (fan). Line a square baking tin with parchment paper.
-
Melt the butter and dark chocolate together in a pan over low heat, stirring frequently until smooth. Set aside to cool slightly.
-
In a separate bowl, whisk the eggs and caster sugar until pale and frothy.
-
Slowly pour in the melted chocolate mixture, gently folding it through the eggs to keep the batter light and airy.
-
Sift in the cocoa powder and flour, folding until just combined.
-
Add the chopped milk chocolate and fold again — don’t overmix!
-
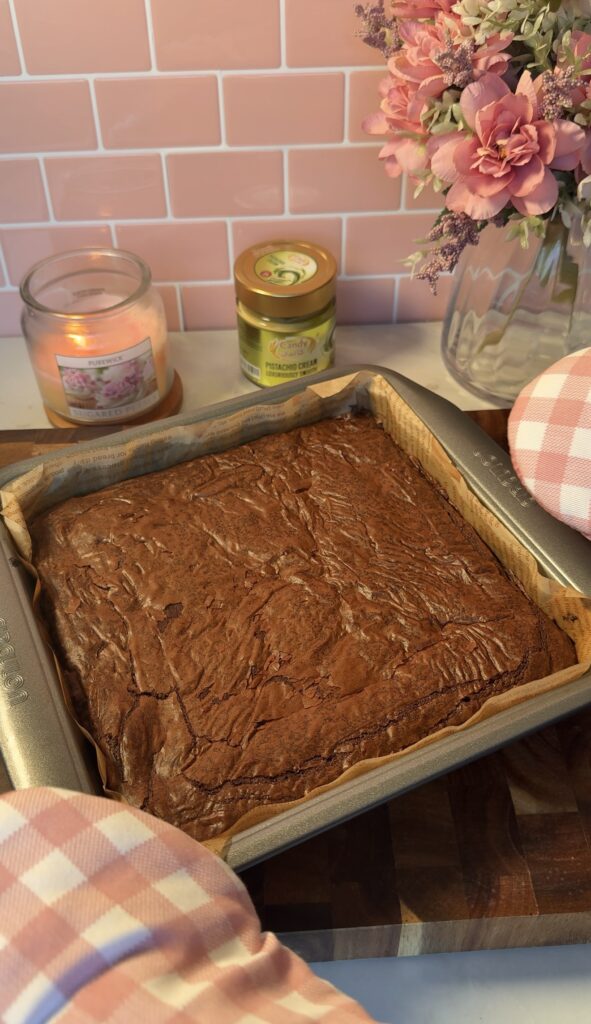
Pour the batter into the prepared tin, smooth the top, and bake for 25 minutes at 160°C (fan).
-
Cool the brownie completely before adding any toppings.
-
In a pan, melt 30g butter and add the kadayif pastry.
-
Toast on medium heat, stirring frequently, until the strands turn golden and crispy.
-
Remove from heat and stir in the pistachio cream to create a rich, nutty filling. You can also add more or less depending on preference.
-
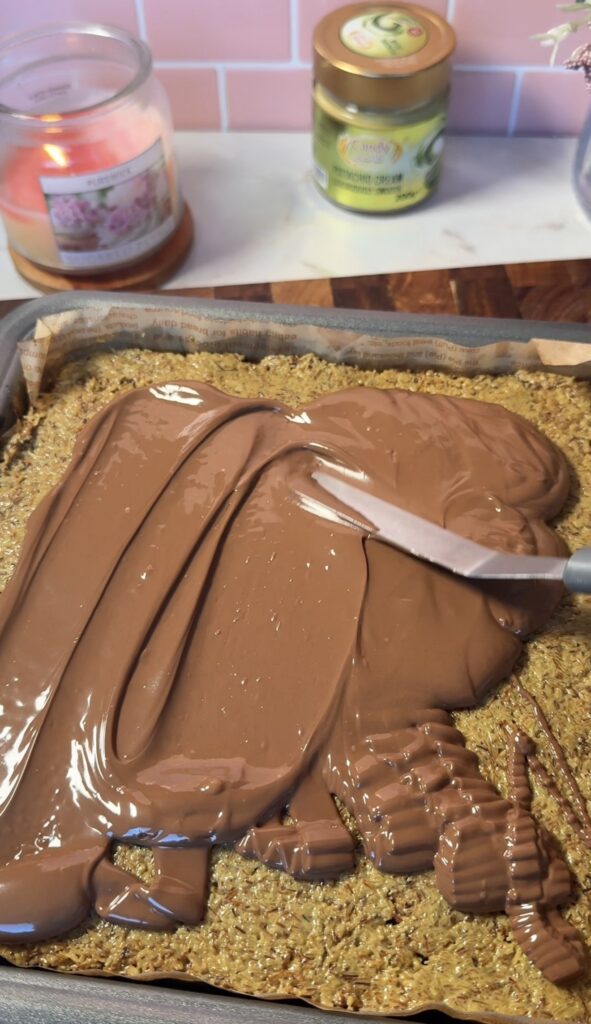
Once the brownie has cooled, spread the kunafa–pistachio mixture evenly over the top.
-
Melt 200g milk chocolate with 1 tsp oil (optional it just helps loosen the chocolate) until glossy and smooth.
-
Pour over the kunafa layer and let it set at room temperature.

