Rocky Roads are fun to make. They require no baking, making it the perfect recipe when your craving a sweet treat but don’t want to wait as long. All you have to do is throw all of your ingredients in a bowl, mix them up and let them set.
*This post may contain affiliate links. Please read my disclosure for more details!*
Lining The Tin
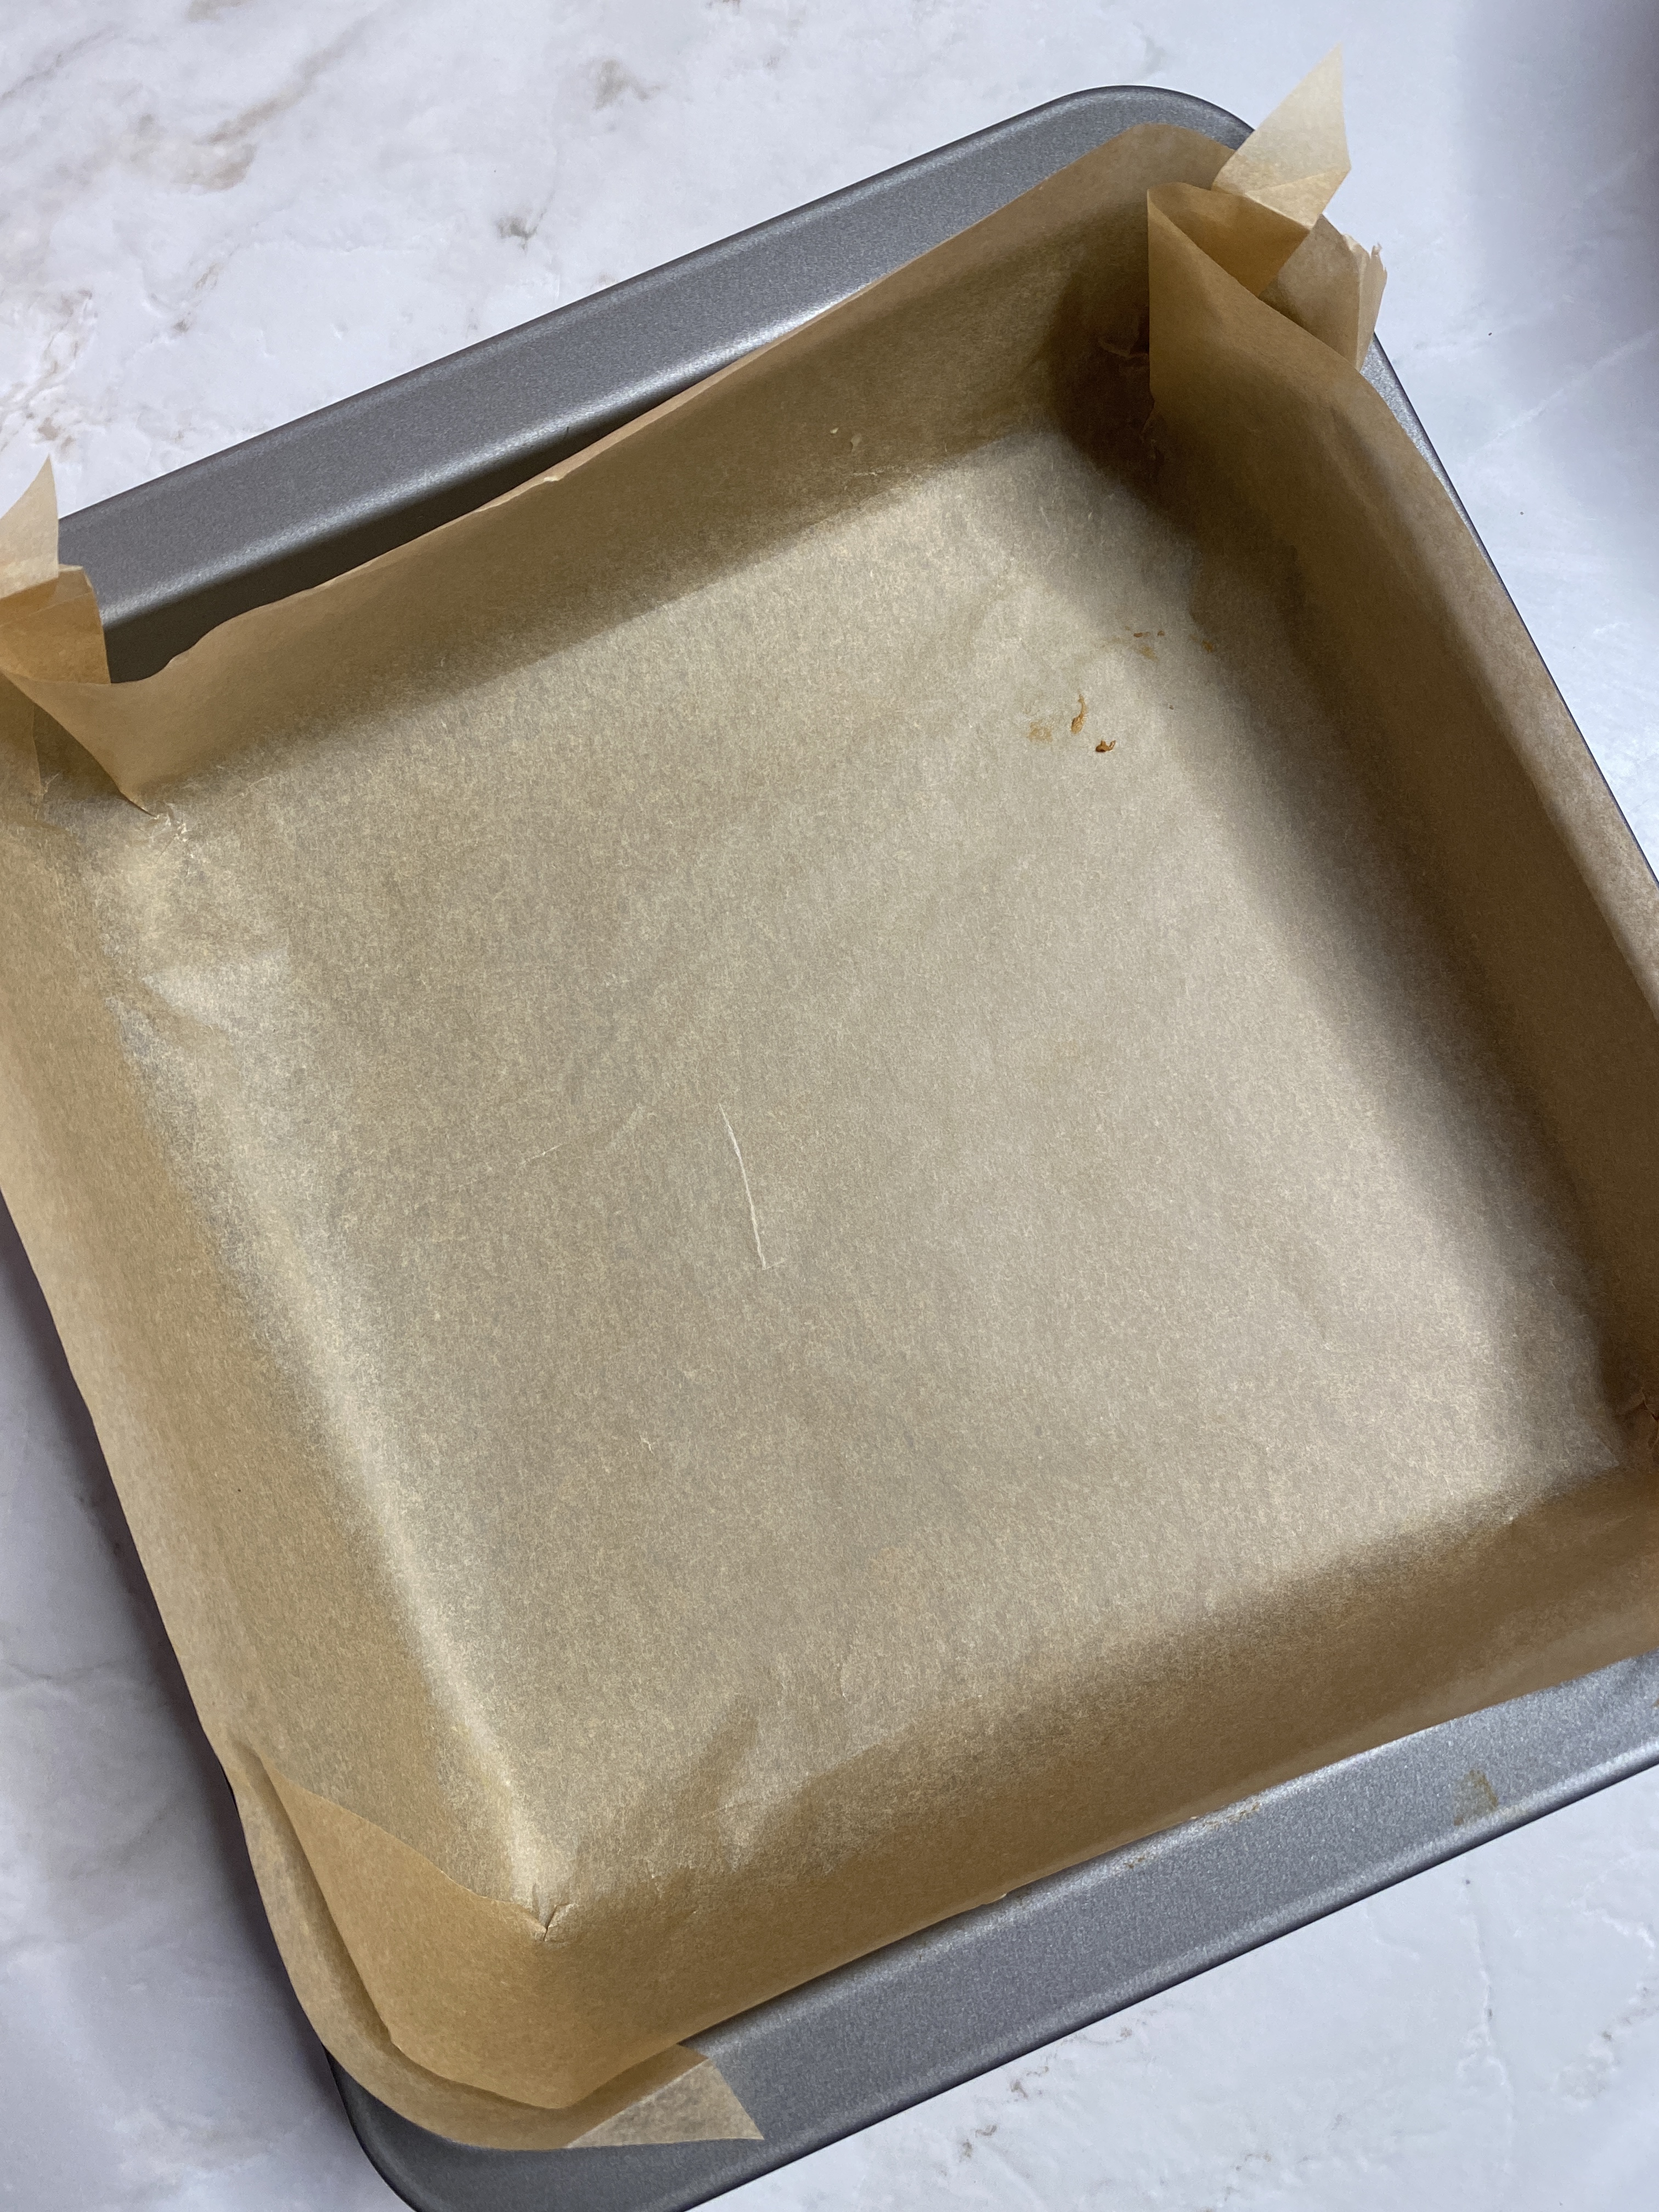
This is a super important step if you want to get the rocky road out of the tin easily. For this recipe, I used a 20x20cm square tray, which I then lined with greaseproof paper. When you measure out the greaseproof paper leave a little extra to cover the sides of the tin. This will help take the rocky road out of the tin because you can use the extra paper as handles to lift it out of the tin easily.
Prepping the Ingredients
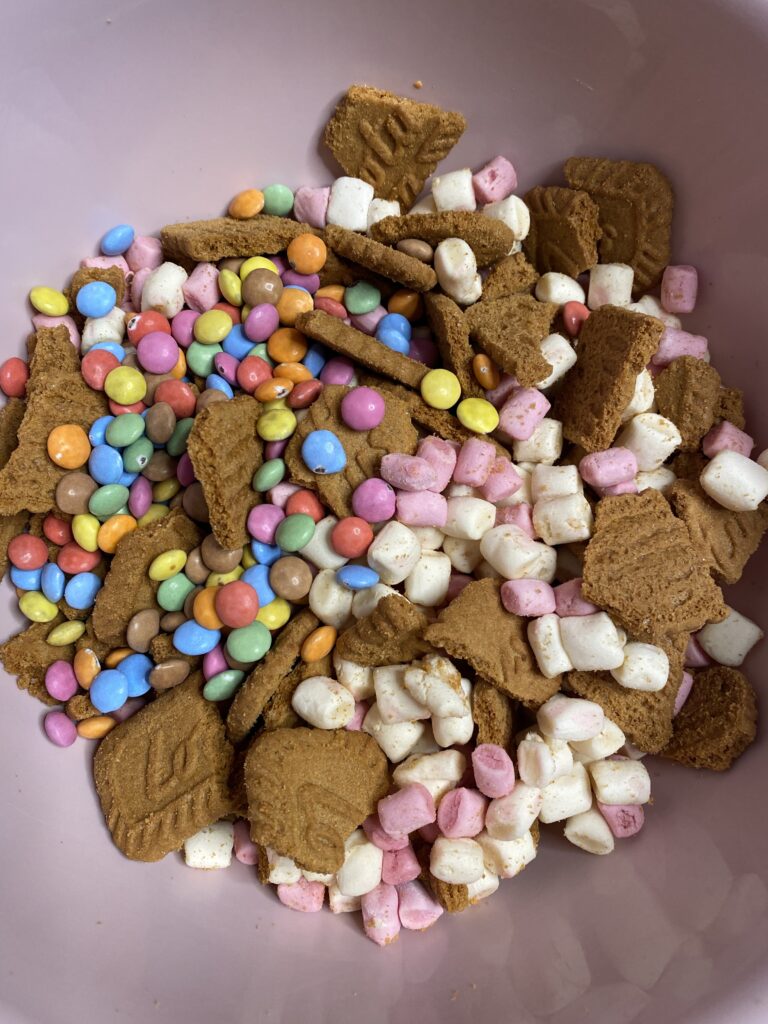
When making rocky roads it is super important that you prepare all of the ingredients in advance like breaking up the biscuits into the desired size as well as having your marshmallows measured. If you skip this step and start melting the chocolate before there is a high chance that the chocolate will start to set before you add in your ingredients. This will make it super difficult to spread the mixture in the tin making the rocky road look a little bit messy. It will still taste amazing though so don’t worry too much.
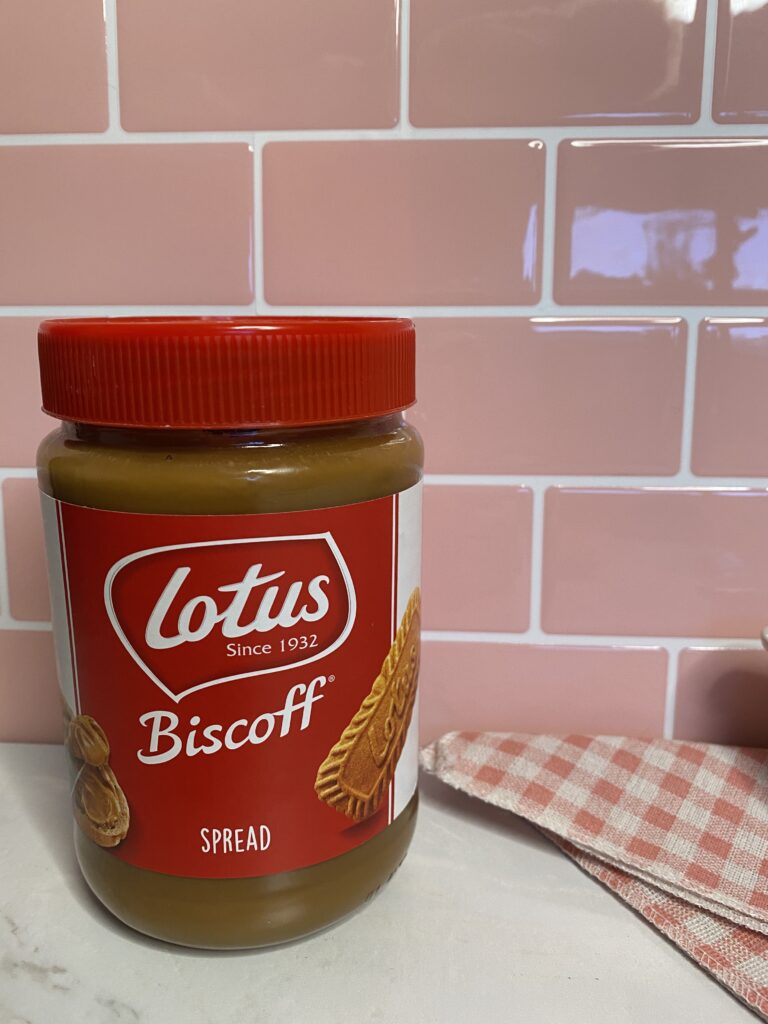
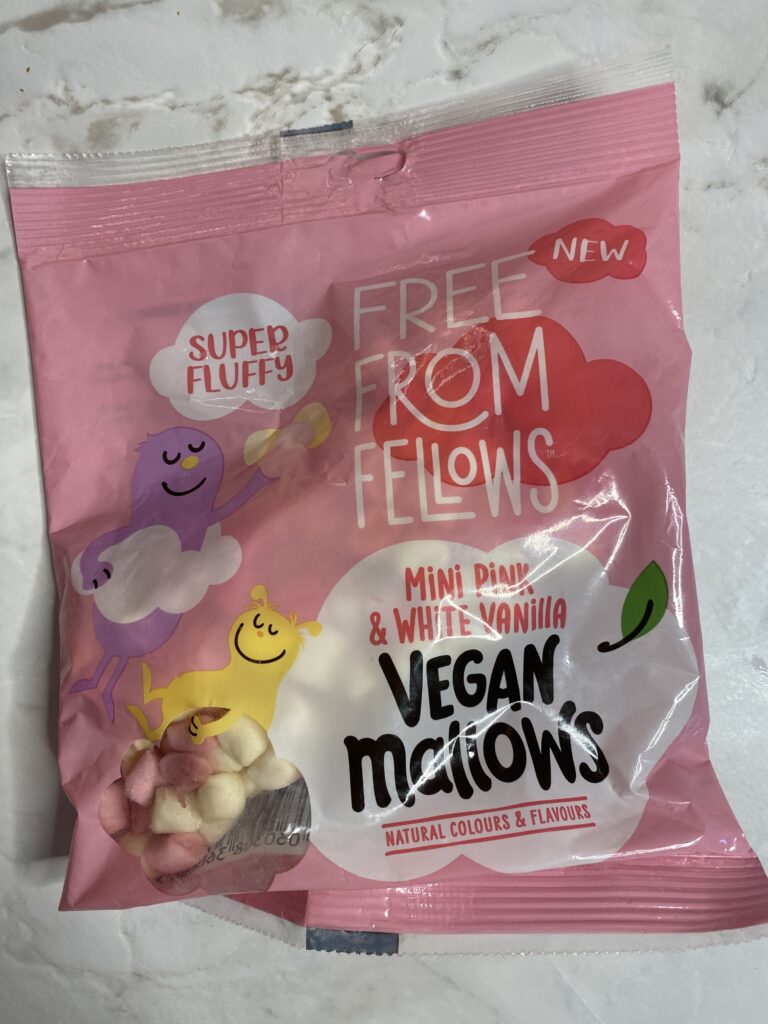
For this rocky road, I used Lotus Biscoff biscuits and mini vegan marshmallows. If you don’t have mini marshmallows you can also use regular-sized ones just cut them up into small pieces so that each slice of rocky road contains the same amount of marshmallows.
Melting the Chocolate
When making a rocky road I like to use a bain-marie to melt the ingredients because that way you can constantly stir without the risk of burning the chocolate, especially when using white chocolate. This is because white chocolate has a lower melting point in comparison to milk and dark chocolate. Which means there is a high risk of the chocolate burning.
What is a Bain-Marie?
In French the term bain-marie means ‘water bath’, it’s an easy technique used for melting ingredients evenly utilising the steam from the water.
So how do I make a bain-marie at home? It’s really simple, all you need is a saucepan with hot simmering water and a glass or metal bowl on top. Just make sure the water doesn’t touch the bottom of the bowl, and that’s pretty much it.
If you don’t want to use the bain-marie method you can use the microwave, just make sure you warm up the ingredients in 10-second intervals, stirring each time to prevent burning.
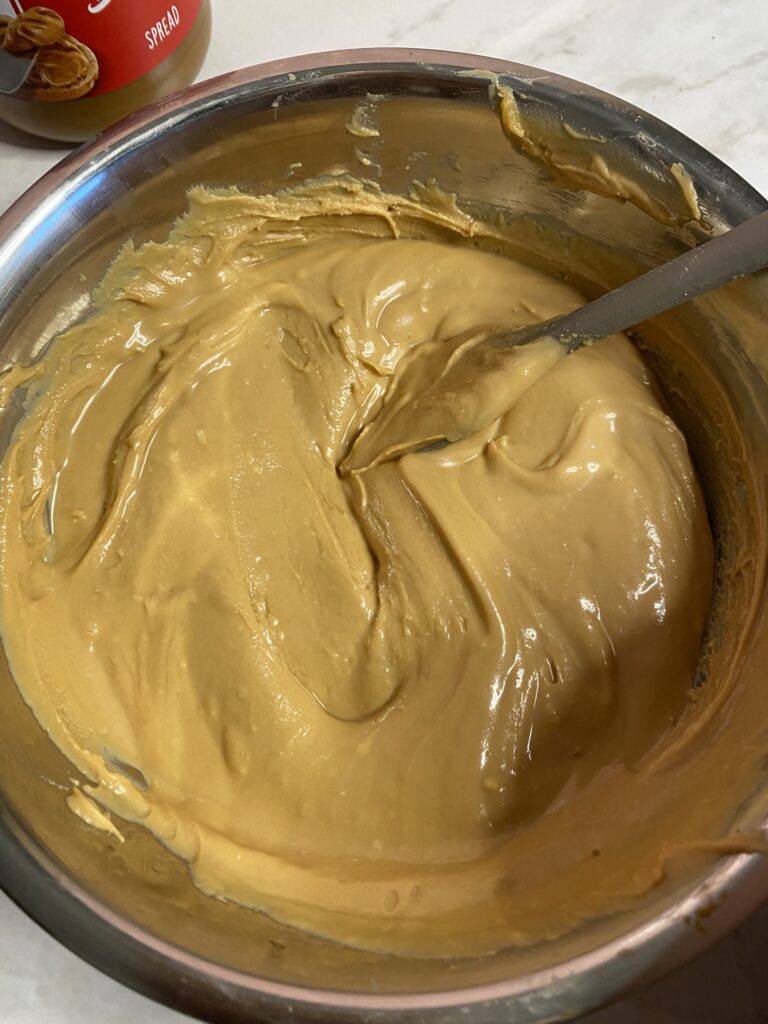
Adding The Melted Chocolate
Once the chocolate, butter and Biscoff spread have melted, it’s time to add the chocolate to the marshmallows and biscuits. But before we do we want to make sure the chocolate mixture isn’t too hot, as this will melt the marshmallows. I like to wait a few minutes. Don’t wait too long though as you don’t want the chocolate to set before you add in the rest of your ingredients. You want the mixture to still be liquid and warm, but not hot. Once you have reached the correct temperature add to the biscuits and marshmallows and mix, ensuring everything is evenly coated.
Once everything is completely coated, quickly add the mixture to your lined tin and evenly press the mixture to each corner using the back of a spoon or spatula before the mixture starts to set.
When using vegan or vegetarian marshmallows try to avoid over-mixing and squishing them in the tin because they are quite weak structure-wise, Therefore they are more likely to mush into the rocky road, which might not look as good later on when we slice the rocky road into portions.
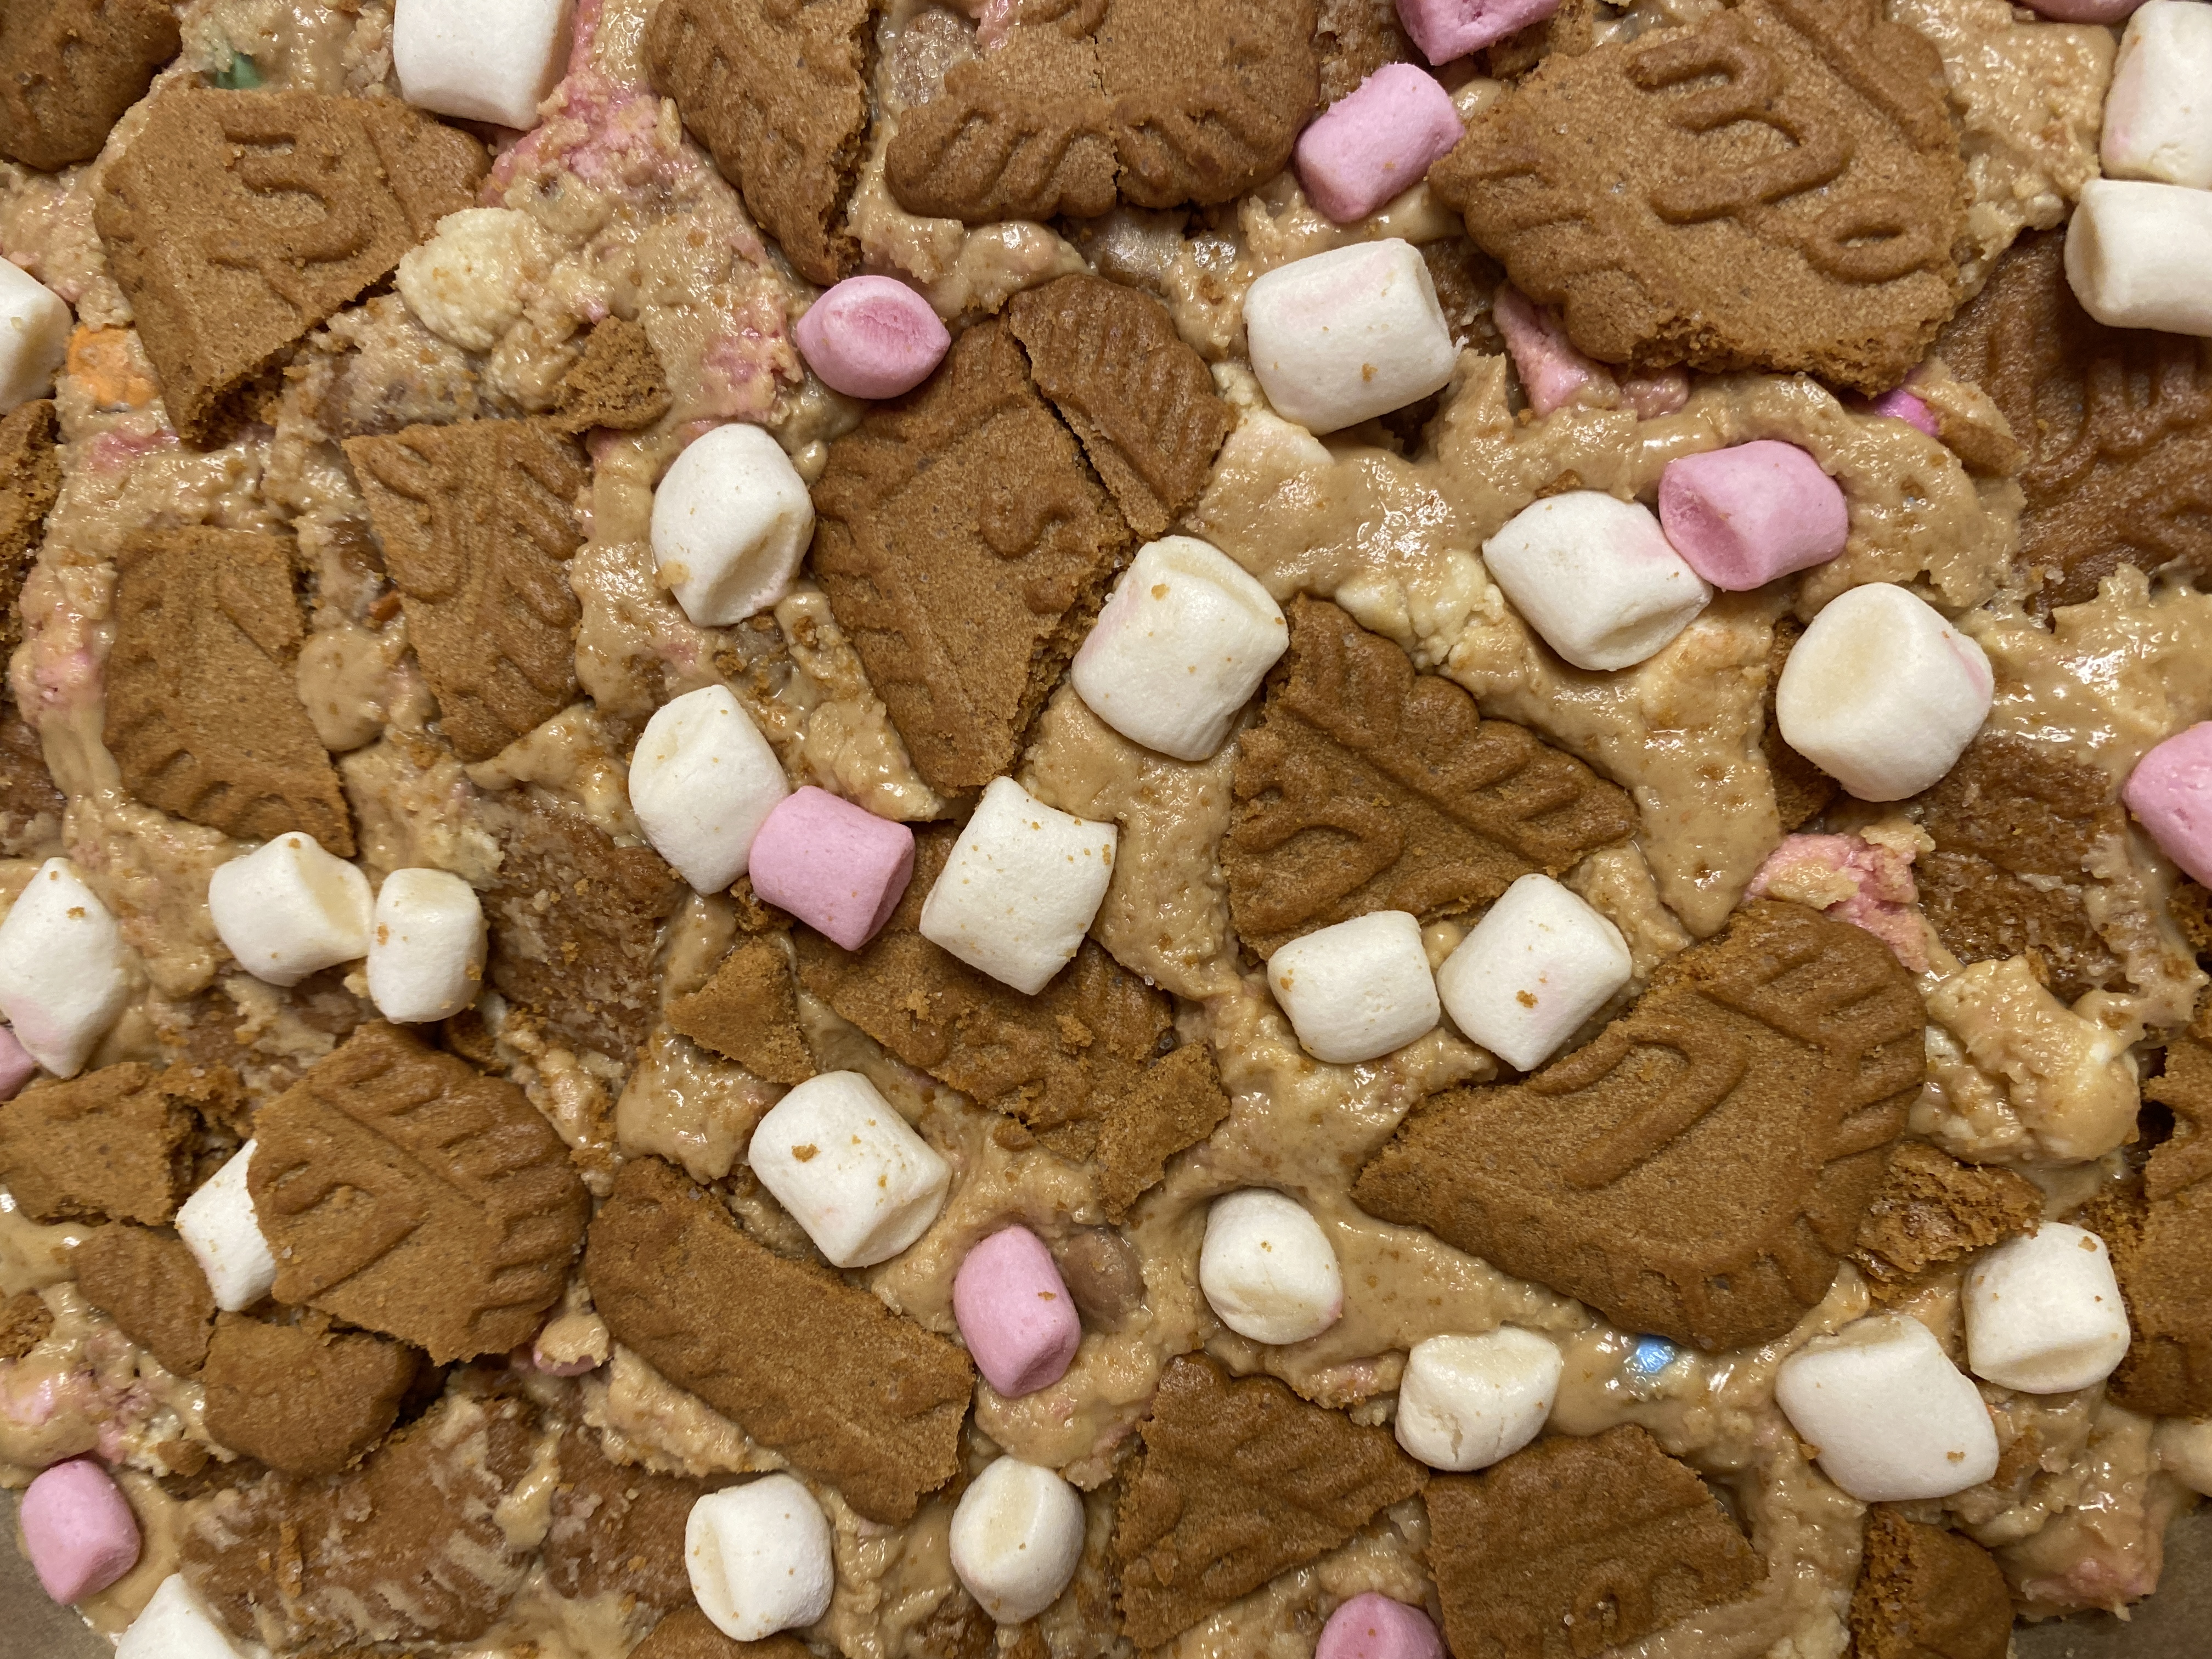
Decorating The Rocky Road
Rocky roads don’t look the prettiest without a few little decorations. I added a few extra Biscoff biscuits which I roughly crushed up into small pieces. I then added a few mini marshmallows to make it look extra pretty.
You can drizzle extra melted Biscoff spread over the rocky road if you want to it’s entirely up to you.
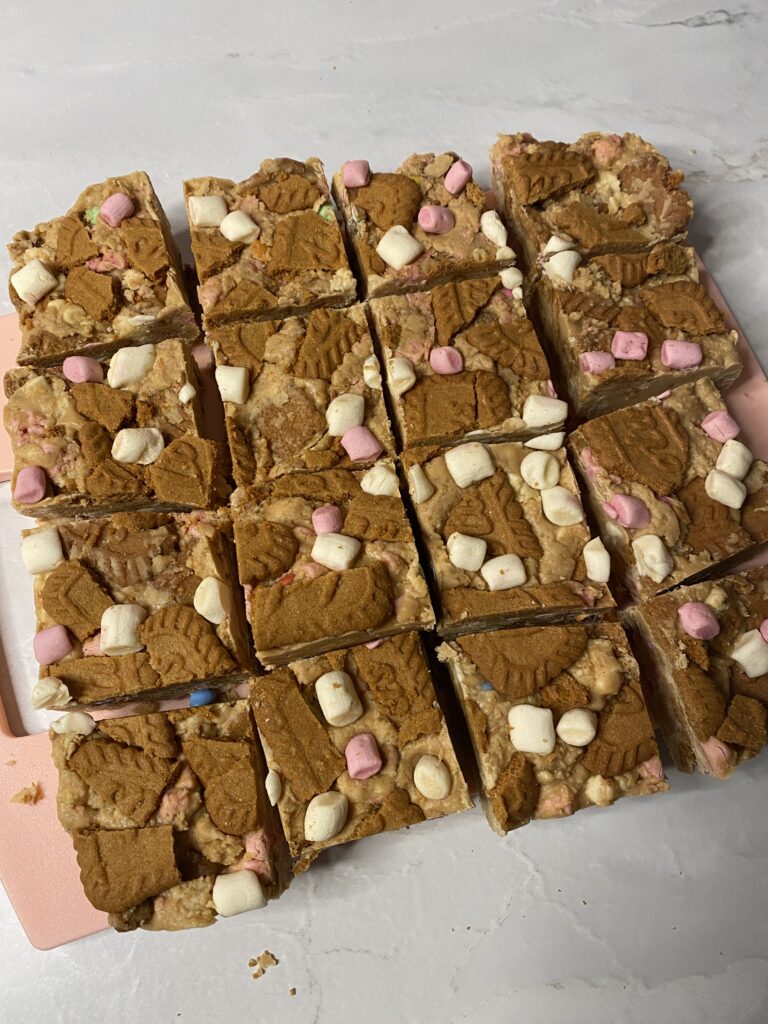
Slicing The Rocky Road
Once the Rocky Road has firmed up in the fridge it’s time to slice up the Rocky Road.
This recipe is a sweet one so I like to slice my rocky roads into 16 equal square slices instead of 9 large squares. But feel free to slice them up however you like.
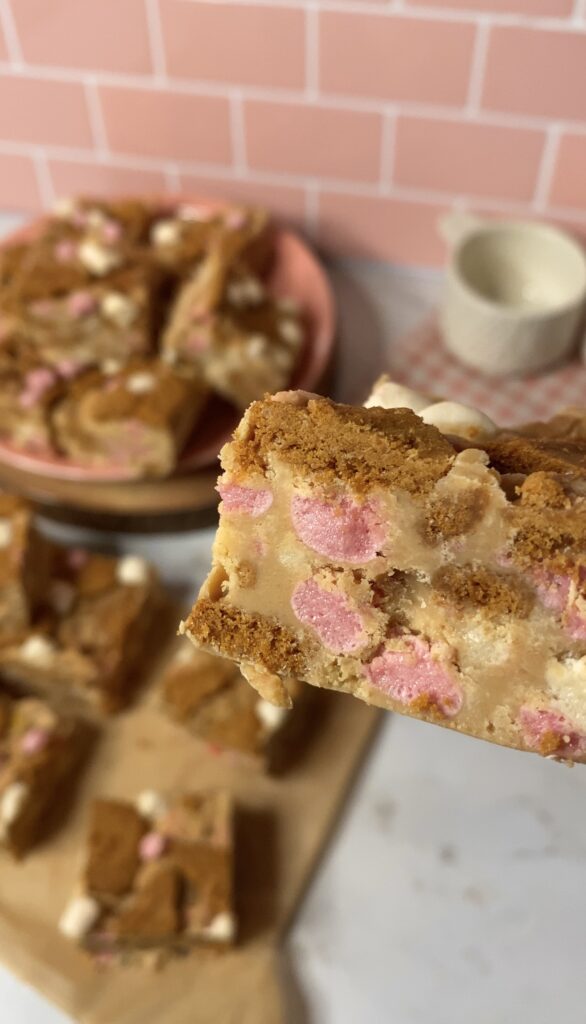
Biscoff Rocky Road
Description
Rocky Road is an easy recipe that requires no baking. It’s quick to make and uses ingredients you may already have lying around in your cupboards.
Ingredients
Instructions
-
Start by preparing a 20x20cm square tin by lining it with greaseproof paper.
-
Break up the Biscoff biscuits into little pieces. Make sure you set a handful to the side for decorating the top later.
-
Next, it’s time to add in the marshmallows, but before you add them in save a small handful for decorating later. Once you have done this add the remaining marshmallows to the crushed biscuits and toss them through making sure they are evenly distributed.
-
In a bain-marie melt the butter, white chocolate and Biscoff spread until smooth. Make sure you stir the mixture as it melts to ensure everything melts evenly.
-
Once the chocolate has melted take the bowl off the heat and set it aside for a few seconds to allow the mix to cool slightly. If you add the chocolate mixture when it’s too hot the marshmallows will melt.
-
After a few minutes pour the chocolate mixture over the crushed biscuits and marshmallows. Then stir together to ensure everything is evenly coated.
-
Next, pour the whole mixture into the prepared tin and spread it out evenly.
-
Decorate the top of the rocky road with the extra Biscoff biscuits and mini marshmallows.
-
Once decorated, leave in the fridge for around 40-60 minutes until firm.
-
Once the rocky road has firmed up slice into 16 equal squares and enjoy.
Note
The great part about rocky roads is that you can customise the ingredients. For example, you could switch the Biscoff Biscuits with some yummy custard creams or even Oreos, it’s entirely up to you.


