Biscoff Cheesecake Dessert Cups

If you love ‘Lotus Biscoff’ this recipe is definitely for you.
So recently I notice you guys have been enjoying my dessert cup series, so after reading your recommendations, I've come up with a new ‘Biscoff’ version.
This recipe is definitely one of my favourites. I find Biscoff has that perfect spice and sweet balance. I still remember the time when I was struggling to find Biscoff spread in my local supermarkets, so I ordered a giant tub from amazon. But now I find it almost everywhere in the spread section usually next to the chocolate spreads.

*This post may contain affiliate links. Please read my disclosure for more details!*
If you like this No-bake Dessert cups series you may also like…
- Strawberry Cheesecake Cups
- Ferrero Rocher Cheesecake Cups
- Strawberry Milkshake Cheesecake Cups
- Easy Chocolate Moose Dessert Cups
What is Lotus Biscoff?
So why is everyone obsessed with Biscoff? Lotus Biscoff also known as Speculoos is a biscuit originally manufactured in Belgium. The main ingredients used in the biscuits are wheat flour, candy syrup (from beet sugar), fat and sometimes cinnamon. Speculoos was originally made as a cheaper alternative to Speculaas (They’re different biscuits).
In North America, the name Biscoff was given to Lotus Bakeries for their Speculoos cookies. The name was derived from the word ‘biscuits’ and ‘coffee’. Biscoff biscuits also come in spread versions too and are available in many supermarkets.

Making The Biscuit Base
Step 1: First start by crushing the Biscoff biscuits into fine crumbs using a food processor or rolling pin.
When crushing the biscuits you want to make sure all of the biscuits are evenly crushed into fine crumbs. The quickest way to achieve this is by using a food processor however, if you don't have one you can use a rolling pin as it works just as well, but requires a little extra time.
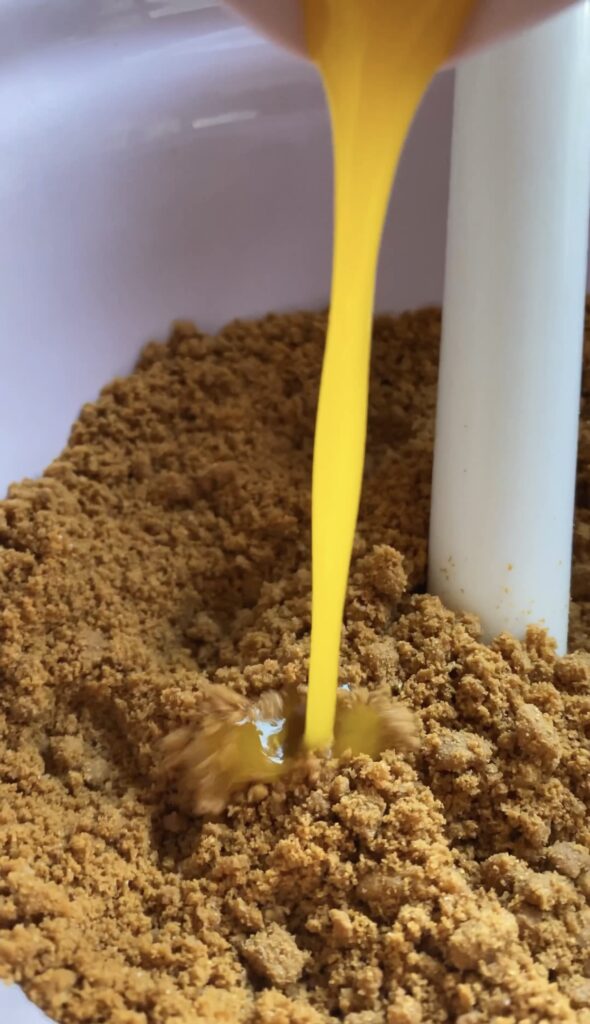
Step 2: Next add the melted butter. Then mix until the biscuits resemble a wet sand consistency.
The first time I tried this recipe I accidentally used a little too much butter, which ended up resulting in the biscuits forming a super solid base at the bottom of the dessert cup, making it difficult to eat. When It comes to making dessert cups less butter is definitely better than too much.


Dessert Cups
There are many different styles of dessert cups available, they also come in a variety of sizes making them perfect for any occasion.
For this recipe, I use 3oz dessert cups from Amazon. I also used the same size cups for my Ferrero Rocher cheesecake and Strawberry cheesecake cups.
Step 3: After your biscuits are fully coated in butter, it’s time to equally add the biscuits to the cups.
I like to use measuring spoons because it makes it easier to roughly estimate the amount of biscuit you add to each cup.


Making The Cheesecake Filling
Step 4: In a large bowl whisk the double cream until soft peaks form.
It's important to make sure your double cream is nice and cold before whisking. This is because warm cream will not help the fat stabilise resulting in sloppy peaks.
Step 5: Next add in the cream cheese, icing sugar and Biscoff spread. Then continue to whisk for a further few seconds until combined.
Unlike double cream, the cream cheese should be at room temperature. When cream cheese is too cold it usually doesn't mix well, causing the cheesecakes to be lumpy and grainy. I’m pretty sure none of us what that.

Decorating The Cheesecakes
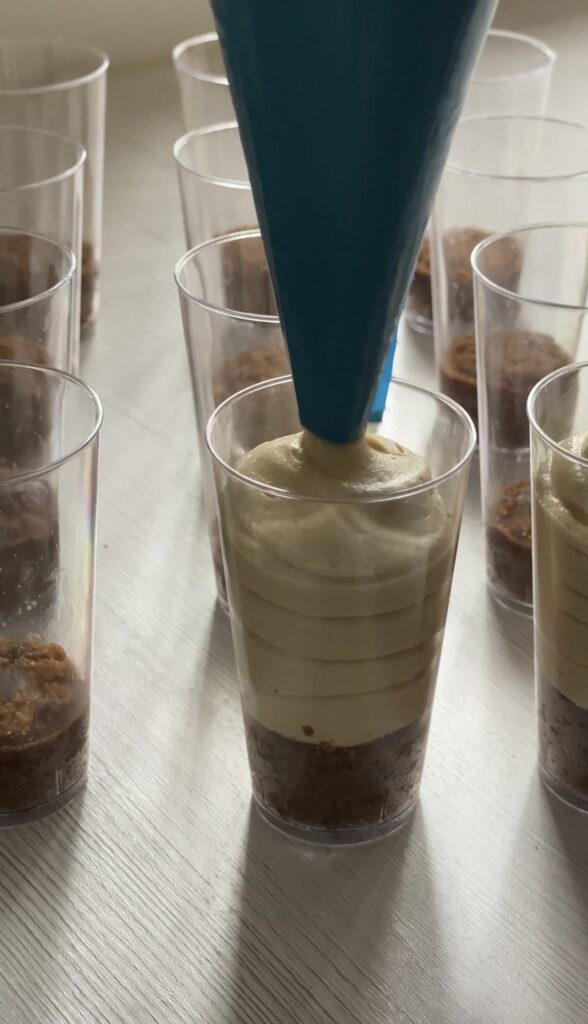
Step 6: Next it’s time to pipe the cheesecake filling using a large piping bag. Once each cup has been filled, tap each cup on a flat surface to push out any bubbles.
Make sure you leave a small gap at the top of the cups, ready for the decorations.
Step 7: Leave the cheesecakes to chill in the fridge for around 4 hours until they are set.
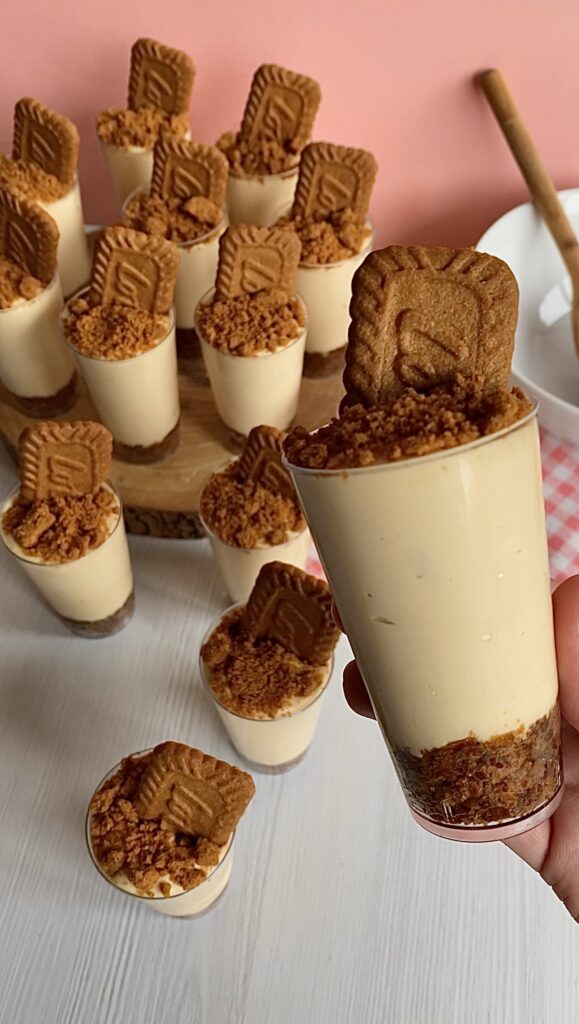
Once the cheesecakes have been set you can decorate them with extra Biscoff or enjoy them the way they are. In this recipe, I added 1 Lotus biscuit to each cup, with additional Biscoff crumbs.

Top Tips For Making The Perfect Cheesecake Cups!
Try to avoid over-mixing as this can cause the cheesecake to split/curdle. It's always better to under-whisk than over-whisk because over-whisking causes a more runny consistency. When the cheesecakes are set they won't have the smooth creamy texture we're looking for. Also piping the mixture into the cups will be a little bit tricky if the mixture is too runny.
The Yummiest Biscoff cheesecake recipe ever. They're super easy to make and the perfect ultimate dessert for any occasion. The dessert consists of a beautiful, creamy filling and a lovely buttery biscuit base.
- 200 g Lotus Biscoff Biscuits (30 Biscuits)
- 2 tbsp Unsalted Butter
- 400 ml Double Cream
- 200 g Soft Cream Cheese
- 70 g Icing Sugar
- 125 g Biscoff Spread
- 16 Biscoff Biscuits
- 5 Crushed Biscuits
Start by crushing the Biscoff biscuits into fine crumbs (you can use a food processor or a rolling pin).
Melt the butter in the microwave for a few seconds until fully melted.
Add the melted butter to the crushed Biscoff Biscuits and mix to form a wet sand mixture.
Then add 3 tsp of crushed biscuits to each dessert cups (this recipe makes 16 cups).
Once you have used all the biscuits, press the biscuits down (using another dessert cup) to create a perfectly flat base for the cheesecake.
In a large bowl whisk the double cream using an electric whisk, until stiff peaks form.
In another bowl mix together the cream cheese and icing sugar until fully combined.
Next add the cream cheese and icing sugar to the double cream and whisk for a few seconds.
Then add the Biscoff spread and mix until combined (be careful not to over mix as this will cause you to lose some of the air made when whisking the cream).
Add the cheesecake mixture to a large piping bag. Then pipe into each dessert cup.
After tap each cup on a flat surface to push out any air bubbles.
Place each cup in the fridge and chill for at least 3 hours.
Once the cheesecake has set decorate with crushed Biscoff biscuits and an entire biscuit (you can drizzle with extra Biscoff spread if you want).
Once decorated, enjoy.
You can make this dessert a day before to allow the cheesecake to fully set, just keep in mind the biscuit decorations will soften in the fridge. I’d recommend decorating just before serving if you prefer a crunchy biscuit.
Thank you for stopping by