
If you follow me on my socials, you will know how much I love an easy no-bake recipe. They tend to be my most popular recipes, and for good reason. No-bake cheesecakes are perfect for when you don’t want to turn on the oven or want something easy to make that can be made ahead of time.
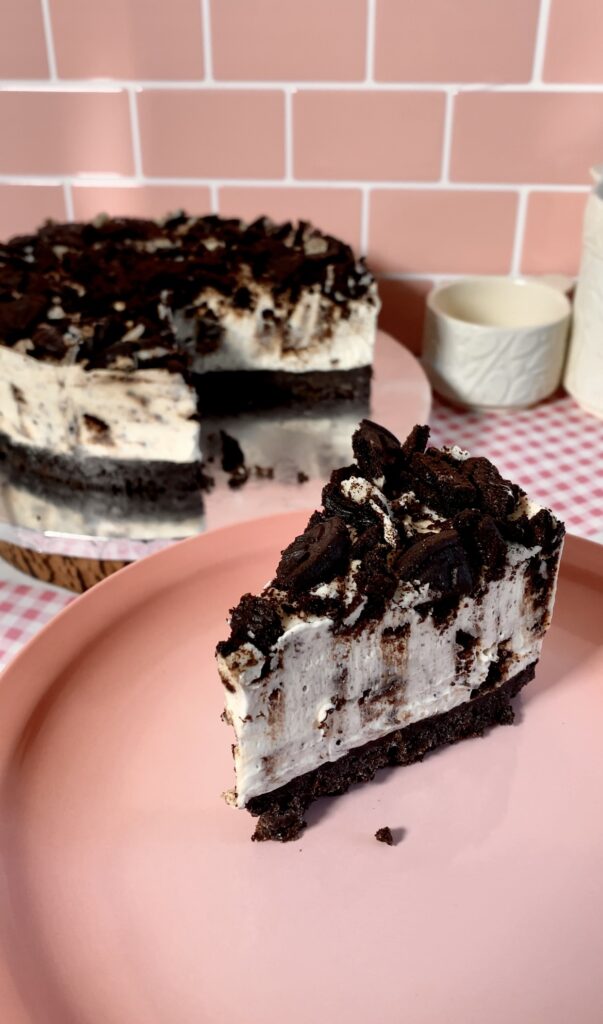
Cookies and cream is one of my favourite cheesecake flavours. It’s creamy, sweet and delicious. This cheesecake is made with a ‘cookies & cream’ base and topped with a delicious vanilla cheesecake packed with more cookies and cream biscuits. The perfect after-dinner dessert for summer or just whenever you fancy a cheesecake I guess.
*This post may contain affiliate links. Please read my disclosure for more details!*
Ingredients To Make The Cookies & Cream Cheesecake
Before we dive right into the step-by-step instructions. Let’s go through the ingredients you will need. There’s nothing worse than making something only to realise halfway through you’re missing an ingredient.
For the Biscuit base, you will need…
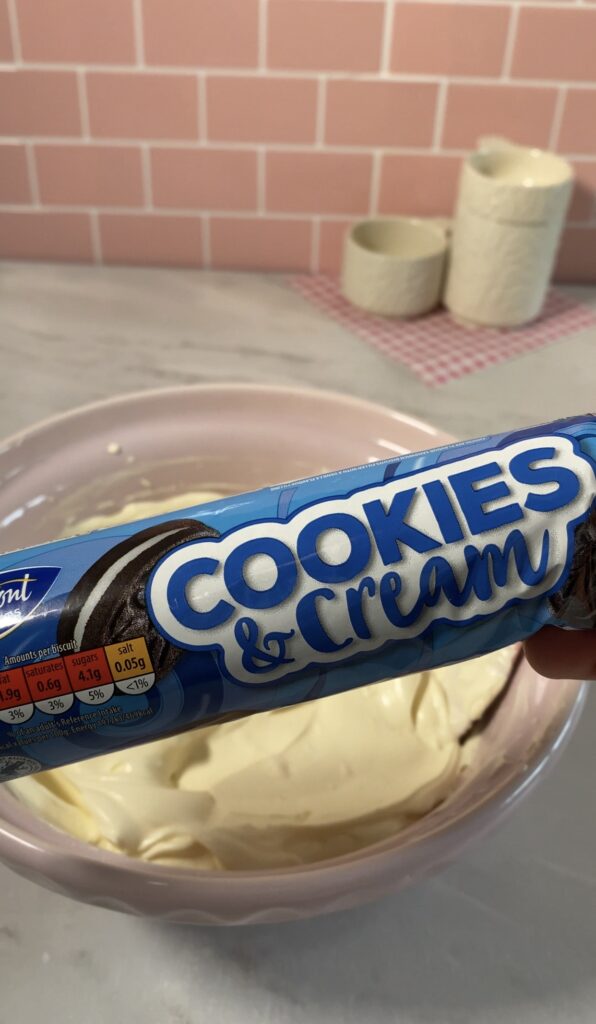
Cookies & Cream biscuits– The most popular brand in the UK is Oreo, In this recipe, I used Aldi’s Cookies & Cream and I used a total of 4 packs.
Butter- Make sure to use block butter as it sets firm. I did use unsalted butter, but salted butter will work too. To melt the butter I did short bursts in the microwave until fully melted alternatively, you can heat the butter on low heat in a pan.
For the cheesecake filling you will need…
Soft Cream Cheese- Always use full-fat cream cheese and drain excess water before using it. I like to leave the cream cheese to sit outside the fridge for 5-10 minutes before using it in my recipes. This allows the cheese to come to room temperature, making it much easier to combine with the rest of the ingredients, which will prevent lumps from forming in the cheesecake mixture.
Icing Sugar- This is also known as powdered sugar. If your icing sugar is a little chunky I would recommend sieving it before adding it to the filling. This will also prevent a lumpy cheesecake and ensure all of the ingredients are well combined.
Vanilla– You can use either extract or paste. This will help enhance the flavours.
Double Cream- It’s important to use cold cream when mixing, as warm cream does not whip up well, sometimes resulting in a runny cheesecake consistency.
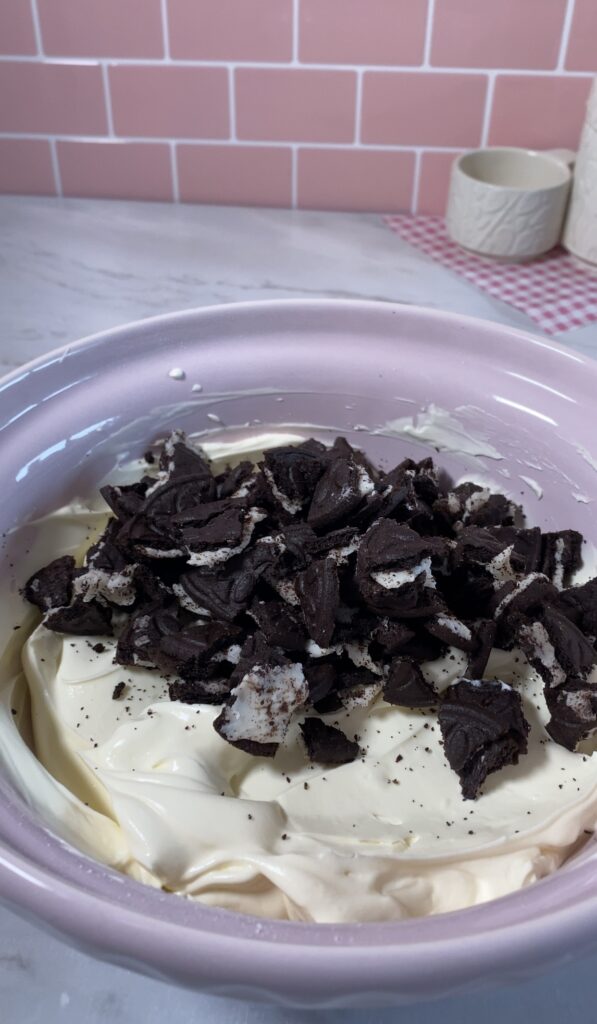
Cookies & Cream- I prefer to use chopped biscuits because they add texture as well as look aesthetically pleasing. However you can process them in a food processor if you prefer, the end result will look different, so keep that in mind.
Equipment:
Below I’ve created a list of some of the equipment I used for this recipe. There is a good chance you already have some, if not all, of the following…
Round 8-inch tin: Use either a springform tin or a loose bottom tin. This will make taking the cheesecake out of the tin a lot easier.
Fondant Rolling Pin: If you don’t have a food processor, you can use a rolling pin. My favourite ones are fondant ones because they’re nonstick and have a flat edge making them perfect for crushing biscuits.
Electric Whisk: When making cheesecakes I use either a stand mixer or an electric hand whisk. An electric whisk will ensure enough air is incorporated into the mixture, creating a perfectly smooth and creamy filling. This consistency can be difficult to achieve if you’re whisking by hand. An electric whisk will significantly reduce the time and physical effort compared to hand mixing.
Kitchen Scale: I can’t bake without one. Baking is all about using accurate measurements. Kitchen scales give accurate readings which means there is less room for errors when measuring your ingredients. I sometimes use scales to measure out liquids too.
*I earn a small amount of money if you buy the products after clicking on the links. You will not be charged anything extra for this. Thank you for supporting SabsBakes!
How to get the cheesecake out of the tin?
When making cheesecake I’d always recommend using a loose bottom or springform tin, as both of these tins have removable bases.
If you have a loose bottom tin, sit the tin on a tall glass and carefully press down so the sides of the tin can slip down lower than the cheesecake
Once you have removed the cheesecake from the tin you can use a clean knife and lightly scrape around the edge of the cheesecake to clean up the edges…this of course is optional.
Storing Cheesecake
It’s very unlikely you will have leftovers, but just in case you do here are a few tips and ways to store it…
Storing cheesecake properly is key to maintaining it’s flavour and texture
Refrigerate or freeze: Individual slices can be wrapped tightly in plastic wrap and stored in the fridge for 3-4 days or frozen for up to 1-2 months.
Wrap it well: If the cheesecake is whole cover tightly with plastic wrap or aluminium foil. If it’s a slice, wrap each piece individually in plastic wrap or store it in an airtight container.
Label and date: Always make a note or label the cheesecake with the date you froze it, as it is best consumed within 1-2 months.
Thawing: To thaw, place the cheesecake in the fridge overnight before serving. Avoid thawing it at room temperature to prevent it from becoming too soft and losing its texture.
By following these methods, you can keep your cheesecake fresh and preserve its delicious flavour and creamy texture.
If you liked this recipe you might also like…
Don’t forget to take photos and tag me @sabsbakes if you do try this recipe, I would love to see your creations.
Also if you have any questions or need help with baking feel free to direct message me on Instagram or TikTok @sabsbakes and I will try my best to get back to you as soon as possible.
Happy Baking,
Sab’s

The Best No-Bake Oreo Cheesecake Recipe
Description
The yummiest cookies and cream-flavoured cheesecake you’ll ever make! A delicious base, with the best creamy no-bake vanilla cheesecake filling and extra cookies and cream biscuits
Ingredients
Biscuit Base
Cheesecake
Decoration
Instructions
-
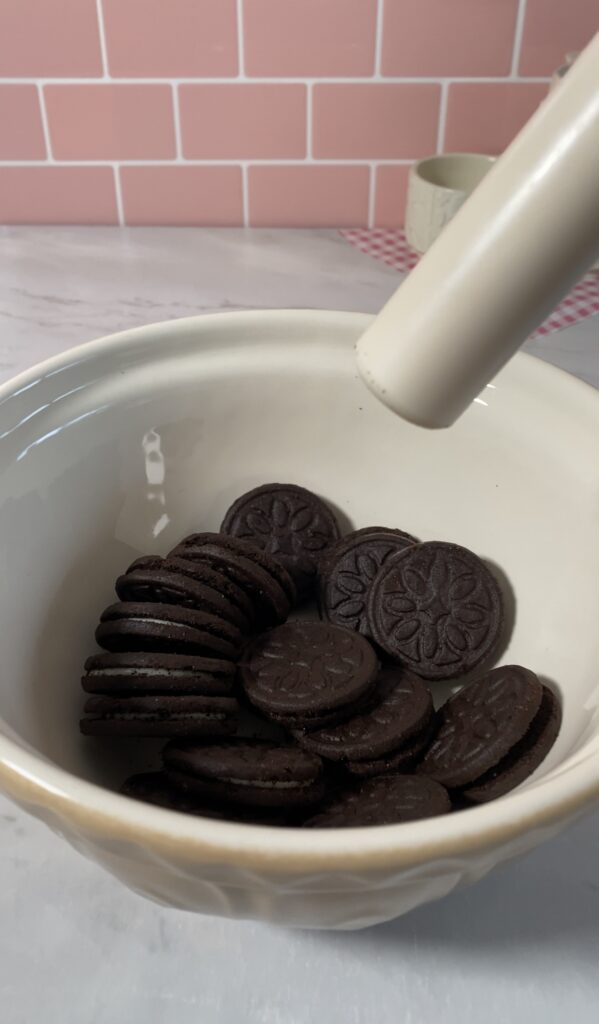
Place the ‘Cookies & Cream’ biscuits into a food processor and process until finely crushed. Alternatively, place the biscuits in a bag or bowl and crush them using a rolling pin.
-
Pour into a medium mixing bowl, then add the melted butter and mix with a spoon until all of the biscuits are fully coated.
-
Press the biscuits firmly in an 8inch round tin, with the back of a spoon. Set aside while you make the filling.
-
To make the filling whisk together the cream cheese, icing sugar and vanilla extract in a large mixing bowl using an electric whisk.
-
Pour in cold double cream and continue to whisk until thick and spreadable. Alternatively, you can whip the double cream separately and fold through with the rest of the filling.
-
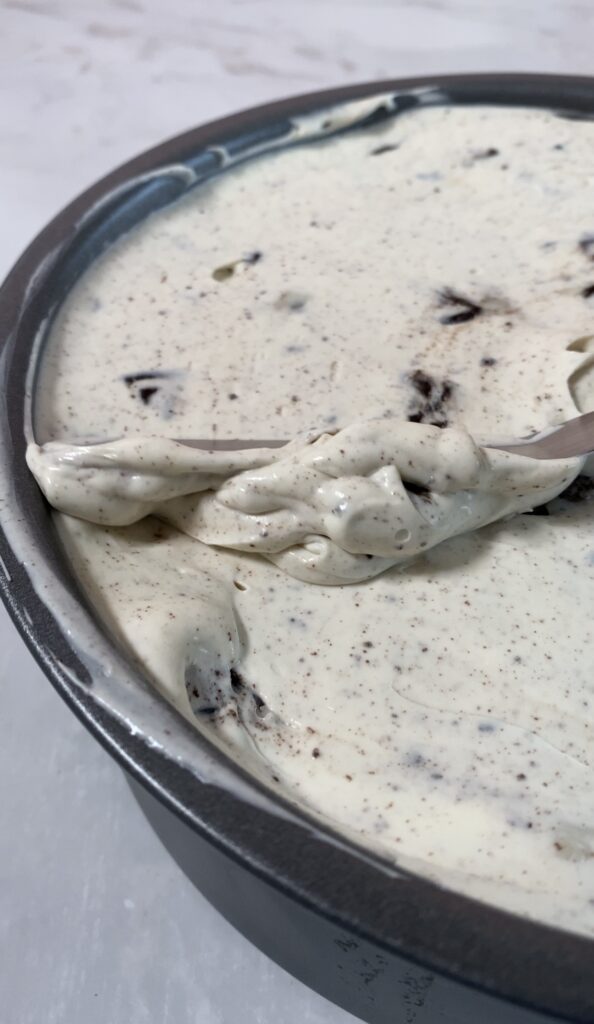
Add the chopped biscuits and fold through using a large spatula.
-
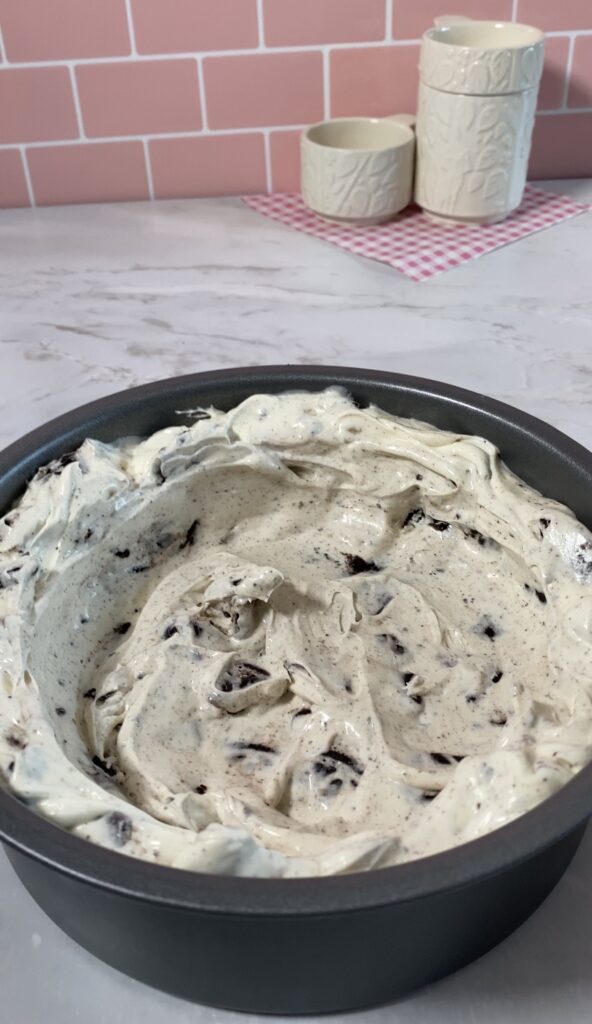
Next, spread the cheesecake onto the biscuit base, making sure to pack the filling into the sides of the tin to prevent any gaps.
-
Decorate the cheesecake with more chopped biscuits. Then place in the fridge to set for a minimum of 6-7 hours. I prefer to leave the cheesecake to set overnight.
-
Once the cheesecake is completely set, remove it from the tin and enjoy. It can be stored in the refrigerator for up to 3 days.
Note
Always use full-fat ingredients to help your cheesecake set.
Leave the cheesecake to set in the fridge for at least 6 hours or overnight. Before attempting to remove it from the tin for best results.